Want to know how to draw a maze that actually works? The reliable trick is to draw the solution path first, then build walls and dead ends around it. Do that and your maze is solvable every time.
This is the same logic our software uses, and it is the one step most tutorials skip. Below we walk through the full grid method by hand, then show you how to make mazes easier or harder on purpose. If you just want a finished maze in two clicks, you can skip the pencil.
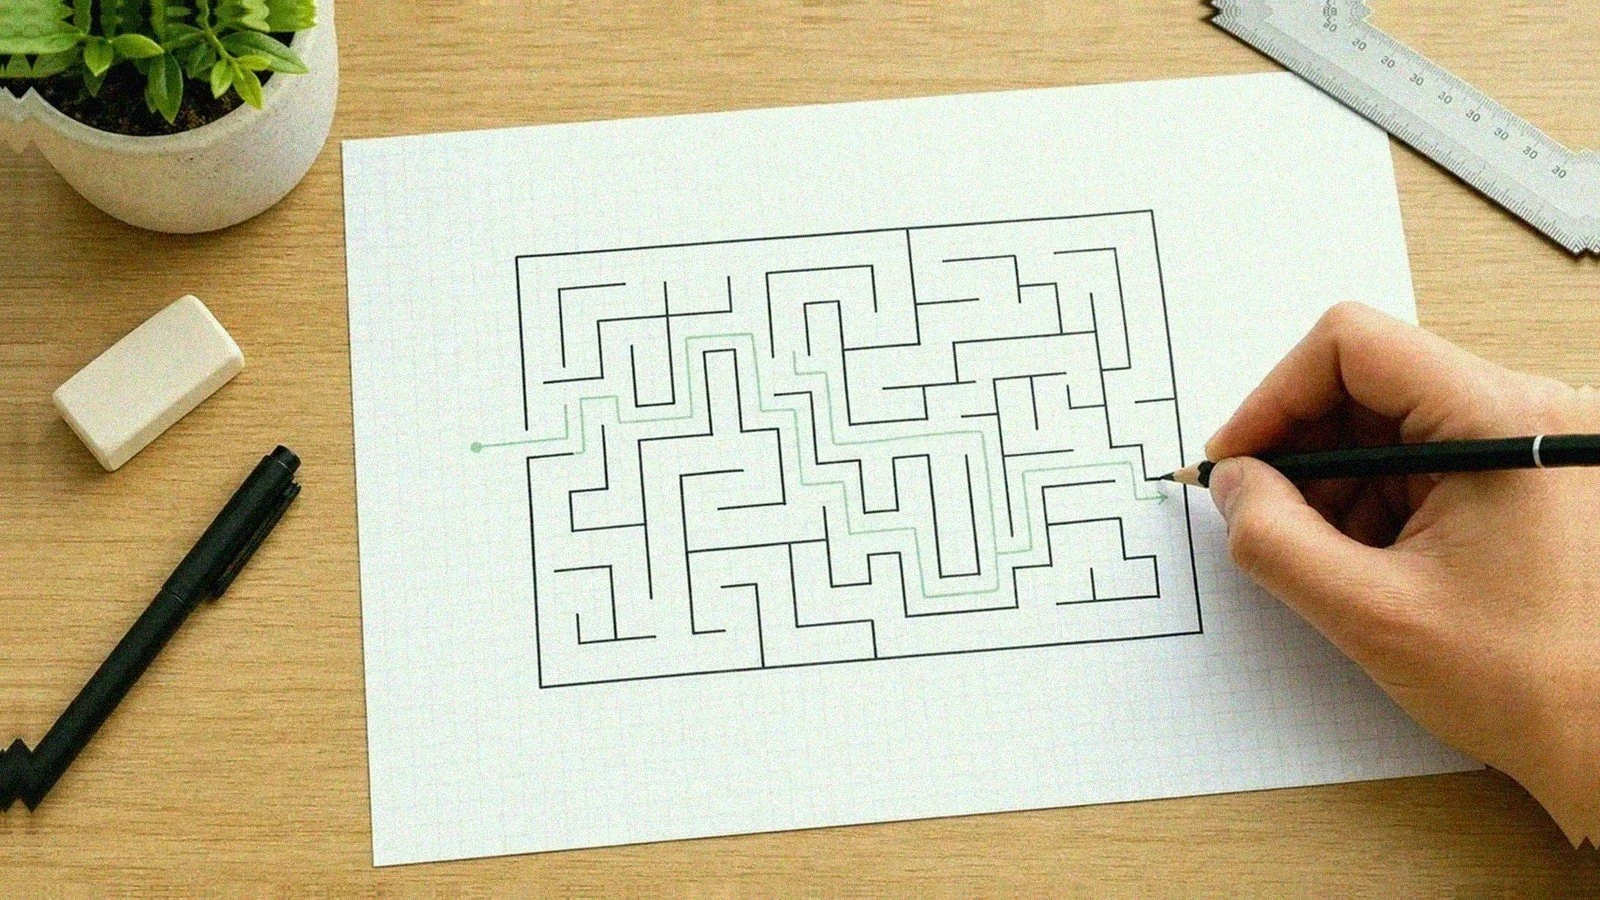
quick links
- the fastest method
- what you need
- the grid method, step by step
- the draw-the-solution-first trick
- how to make a maze easy vs hard
- drawing different shapes
- common mistakes
- tips for kids drawing their own
- no graph paper? no problem
- turn a hand-drawn maze into a clean printable
- faq
- next step
the fastest method
If you only need a maze right now and do not care about the craft, here is the quickest route:
- Open the maze generator.
- Pick a shape (rectangular, circular, or hex) and a size.
- Set the difficulty slider.
- Download the PDF and print.
That is a clean, solvable maze in under a minute. The rest of this guide is for when you want to draw one by hand. It is fun, and it is the best way to understand how mazes are actually built.
Prefer to watch first? This short walkthrough covers the same grid approach, and it is an easy one to follow along with kids:
what you need
You can draw a maze with almost nothing, but a few simple tools make a big difference in how clean it reads.
- Graph paper (or grid paper). The printed squares act as guide rails so every wall lines up. A 5 mm grid works well for a hand-drawn maze.
- A pencil. Use it lightly. Everything you sketch first gets erased, so an HB or 2H pencil with a soft touch is best.
- A good eraser. A clean white or kneaded eraser lifts pencil without smudging your ink.
- A fine marker or pen. A 0.5 mm fineliner is the sweet spot at this grid size: thick enough to read clearly when you print or photocopy, thin enough that walls do not crowd the passages. A 0.3 mm pen gets lost, and a chunky 1 mm marker eats the gaps.
- A ruler. Even on graph paper, a ruler keeps your border and longer walls straight.
No graph paper on hand? Skip to no graph paper, no problem for a workaround.
the grid method, step by step
This is the classic way to make a maze on paper. We will draw a small rectangular maze so the steps are easy to follow, then you can scale up.
1. draw the border with start and finish gaps
Use your ruler to draw a rectangle. For your first maze, keep it small, around 10 squares wide by 10 squares tall. Then leave a one-square gap on the border for the start (top-left is traditional) and another gap for the finish (bottom-right). Those two openings are the only way in and out.
Mark the start with an arrow or the word "Start," and the finish with "End." Decide these now, because the whole maze is built between them.
2. lightly pencil your grid
If you are on graph paper, the grid is already there. If you want bigger cells, lightly pencil a grid inside the border, for example every two squares, so each maze "cell" is a 2x2 block. Bigger cells mean wider passages and an easier maze. Smaller cells mean a tighter, harder one.
Keep this grid faint. It is scaffolding, not part of the final drawing.
3. draw the single solution path first
This is the step that changes everything. Before you draw a single wall, draw the one path that goes from Start to Finish. Wander it around the grid in light pencil: up a few cells, across, down, back across, until it snakes its way to the exit. Make it twist, but never let it cross itself, and never let it run side by side against itself (that creates a shortcut).
This single line is your solution. Because it exists before any walls do, your finished maze cannot be unsolvable. More on why this works in the draw-the-solution-first trick.
4. fill the rest with branching dead ends
Now treat every cell your solution path did not touch as open territory. From the solution path, branch new pencil corridors off into those empty cells. Each branch should wander a bit and then stop at a dead end. Add branches off of branches too. Keep going until every cell in the grid has been visited by some corridor and there are no empty pockets left.
Here is the trick to a tricky maze: make several of these dead-end branches start right next to the real solution, so a solver keeps choosing the wrong fork.
5. ink the walls between corridors
Switch to your fine marker. Wherever two neighboring cells are not connected by a corridor, draw a wall on the grid line between them. Trace the full outer border too, leaving your Start and Finish gaps open. The corridors you sketched become the white passages, and everything else becomes inked walls.
Work along grid lines and use the ruler for straight runs. A 0.5 mm pen gives walls that stay sharp even after a photocopy or a print.
6. erase the pencil
Let the ink dry for a minute so you do not smear it, then gently erase all your pencil lines: the faint grid, the solution path, and the corridor sketches. What is left is a clean maze with crisp black walls and open white paths.
Test it yourself before you hand it off. Run a fresh pencil from Start to Finish to confirm the solution still works, then check there are no accidental gaps that create a second route.
the draw-the-solution-first trick
It is worth understanding why this works. It is the difference between a maze that frustrates people in a good way and one that is simply broken.
A good maze (sometimes called a "perfect" maze) has exactly one path between the start and the finish, with no loops and no closed-off islands. When you draw the solution path first, you are placing that single route before anything else exists. Every wall you add afterward sits around that route, so it can never block it.
The dead-end branches you add in step 4 are the bait. They create choices, and choices are what make a maze feel hard. But because they all terminate, none of them can become a second valid exit. So the maze stays solvable without being trivial.
Scatter random walls and hope a path emerges, and you end up with unsolvable mazes or mazes with five shortcuts. Draw the answer first and you avoid both. If you want the theory on what makes a maze a maze, see our explainer on what is a maze.
how to make a maze easy vs hard
A messy-looking maze is not the same as a hard one. Difficulty comes from a handful of dials you can turn up or down on purpose. Here is how each one works when you are drawing by hand.
| Dial | Easy setting | Hard setting | Why it matters |
|---|---|---|---|
| Grid size | Small, 6x6 to 10x10 | Large, 20x20 or bigger | More cells mean more possible wrong turns |
| Path width | Wide, 2 to 3 squares | Narrow, 1 square | Wide passages are easy to scan ahead; narrow ones hide the route |
| Junctions | Few forks | Many forks | Every fork is a decision and a chance to go wrong |
| Dead ends | Short and obvious | Long and convincing | Long dead ends waste a solver's time before they realize the mistake |
| Twistiness | Straight, direct solution | Solution doubles back often | A winding solution is harder to spot and harder to retrace |
| Decoy forks near the path | None | Several false forks beside the true route | The single most effective way to make a small maze feel hard |
A few practical notes from making a lot of these:
- For an easy maze for a young child, a 6x6 grid with two-square-wide paths and only a handful of short dead ends solves in seconds and never feels punishing.
- For a hard maze, you do not need a giant grid. A 15x15 with a long, doubling-back solution and lots of decoy forks beside the true path will stump most adults. Length plus deception beats raw size.
- If a maze ends up too easy after you ink it, you probably drew the solution too directly. Next time, make it zigzag.
Want this set precisely without redrawing? Our generator has these same controls. Read how maze difficulty works for the full breakdown, then set the difficulty and size sliders to taste.
drawing different shapes
The grid method works for more than rectangles. The same draw-the-solution-first logic applies to any outline.
rectangular and square mazes
These are the default and the easiest to draw by hand, since graph paper does the alignment for you. They also print and photocopy the cleanest. If rectangular is your style, browse ready-made rectangular mazes or the rectangular maze category for inspiration.
circular and spiral mazes
Instead of a square grid, draw a series of concentric rings with a few spokes connecting them. Put the Start on the outer ring and the Finish in the center. Your solution path now weaves between rings through gaps in the ring walls. Spiral mazes are disorienting in a fun way because solvers lose track of which ring they are on. Drawing these cleanly by hand is fiddly, which is why people tend to generate them. See our circular mazes and the circular maze category.
themed and outline shapes
Want a maze shaped like a star, a heart, or an animal? Lightly sketch the outline first, fill it with your grid, then run the solution path inside the shape and add walls around it. The outline becomes the outer border, and everything else is the same grid method. Kids love these because the finished maze looks like something.
For more on how shape changes the feel of a maze, see rectangular vs circular vs hex mazes.
common mistakes
These are the issues we see most often in hand-drawn mazes, and how to avoid them.
- Isolated walls. A wall segment floating in the middle with open space on all sides does nothing. Every wall should connect to another wall or the border so it actually channels the path.
- Multiple solutions. If you draw walls randomly, you often leave two or more routes from Start to Finish. The fix is the draw-the-solution-first trick: one route exists by design, and dead ends never become exits.
- Unsolvable mazes. This is the opposite problem, where walls accidentally seal off the finish. Drawing the solution first prevents it, because the route is there before any wall.
- Forgotten cells. Leaving big open rectangles with no walls makes the maze trivial. Make sure every cell is either visited by a corridor or sealed by walls.
- Walls too thick. A heavy marker on a small grid closes up the passages until the maze is hard to read. Match your pen to your grid. A 0.5 mm pen on a 5 mm grid reads cleanly.
- Not testing it. Always solve your own maze before sharing it. Thirty seconds of checking saves you from handing out an unsolvable worksheet.
tips for kids drawing their own
Drawing mazes is a great kids' activity, and it builds planning and fine-motor skills. A few things that help, based on the mistakes we see kids make most:
- Start the route, not the walls. Tell them to draw the path from Start to Finish first, like a road, before any walls. Kids who add walls first almost always create a maze with no way through.
- Use fat paths. On regular paper, have them make passages a finger-width wide. Tight mazes are frustrating to draw and to solve.
- Begin tiny. A 5x5 or 6x6 grid is plenty for a first maze. Finishing a small one builds the confidence to go bigger.
- One color for walls. Keep the path white and the walls a single bold color so the maze stays readable.
- Let them theme it. A maze inside a dinosaur outline is far more motivating than a plain square.
If you want printable mazes designed for little hands, our printable mazes use wide paths, big start and finish markers, and fun themes. For age-appropriate picks, see printable mazes for kids by grade.
no graph paper? no problem
You can make a maze on paper without a grid. Two approaches:
- Eyeball a grid. Use a ruler to lightly pencil evenly spaced horizontal and vertical lines on plain paper, then follow the grid method above. The lines do not need to be perfect. They just keep your walls aligned.
- Go freeform. Skip the grid entirely. Draw your border, sketch the wandering solution path freehand, then add curving dead-end corridors around it and ink the walls. Freeform mazes look organic and suit themed shapes, though they take a steadier hand to keep readable.
Either way, the rule does not change: solution path first, walls second.
turn a hand-drawn maze into a clean printable
Made a maze you love and want crisp copies? A few ways to clean it up:
- Photocopy or scan it. Scan at 300 DPI, then raise the contrast so the walls go solid black and the paper goes pure white. This hides any leftover pencil ghosting.
- Trace it digitally. Import the scan into any drawing app and trace the walls on a new layer for sharp lines you can resize without quality loss.
- Rebuild it in the generator. The fastest route to a print-perfect copy is to recreate the look with our maze generator: choose the same shape and size, set the difficulty, and download a vector-clean PDF, with no scanning artifacts or smudges.
For classroom-ready layouts with titles and answer keys, the maze worksheets page is built for this.
faq
what is the easiest way to draw a maze?
Start with graph paper. Draw a border with a start and finish gap, then draw the single solution path from start to finish before any walls. Add dead-end branches around it, ink the walls, and erase your pencil. Drawing the solution first is what keeps it solvable.
how do you make a simple maze for beginners?
Keep it small (around 6x6), use wide two-square paths, and add only a few short dead ends. A direct, lightly twisting solution keeps it gentle. You can also generate a beginner maze with the easy difficulty setting.
why should I draw the solution path first?
Because it guarantees the maze is solvable. The single route from start to finish exists before any walls, so no wall can block it, and the dead ends you add afterward can never become a second exit. It prevents both unsolvable mazes and mazes with multiple solutions.
how do I make a maze harder?
Use a larger grid, narrow the paths to one square, add more junctions, make dead ends long and convincing, and most importantly, place decoy forks right beside the true solution. A winding solution that doubles back is much harder than a direct one. See how maze difficulty works.
can I draw a maze without graph paper?
Yes. Either ruler in a light grid on plain paper, or go fully freeform: draw the border, sketch the wandering solution by hand, add curving dead ends, and ink the walls. The solution-first rule still applies.
what pen is best for drawing a maze?
A 0.5 mm fineliner is the sweet spot for a typical 5 mm grid: clear enough to photocopy, thin enough that walls do not crowd the passages. A 0.3 mm pen reads too faint, and a chunky marker closes up the paths.
how do I turn my hand-drawn maze into a printable?
Scan it at 300 DPI and boost the contrast, trace it in a drawing app, or rebuild the same shape and size in our maze generator for a vector-clean PDF with no smudges.
are the mazes on this site free?
Yes. Every maze you generate on Maze Printables is free to create, download, and print, with no account and no watermark.
next step
Now you know how to draw a maze by hand, from the border to the inked walls. Where to go next:
- Skip the pencil: open the maze generator for an instant, solvable maze.
- Print a set: grab ready-made printable mazes or classroom-ready maze worksheets.
- For kids: browse printable mazes, or pick by age with printable mazes for kids by grade.
- Tune the challenge: adjust difficulty and size to match your audience.
- Keep learning: read how to solve a maze, what is a maze, and maze vs labyrinth.
- Explore shapes: browse all mazes, or jump to rectangular and circular styles.