The marble should roll from START to FINISH while you tilt a square cardboard board between your hands. Learning how to make a marble maze begins with enough space around that marble; a beautiful layout is frustrating when the ball wedges at its first corner.
This build uses raised walls on a 12-by-12-inch base. You'll transfer a printable plan, fit the walls, then test the complete route. A separate solution lets you check the layout, and the paper-plate variation near the end uses fewer materials.
Small-parts warning. Marbles can cause choking. Keep them away from children under three and supervise around young children. Adults should use craft knives and handle hot glue, including low-temperature guns.
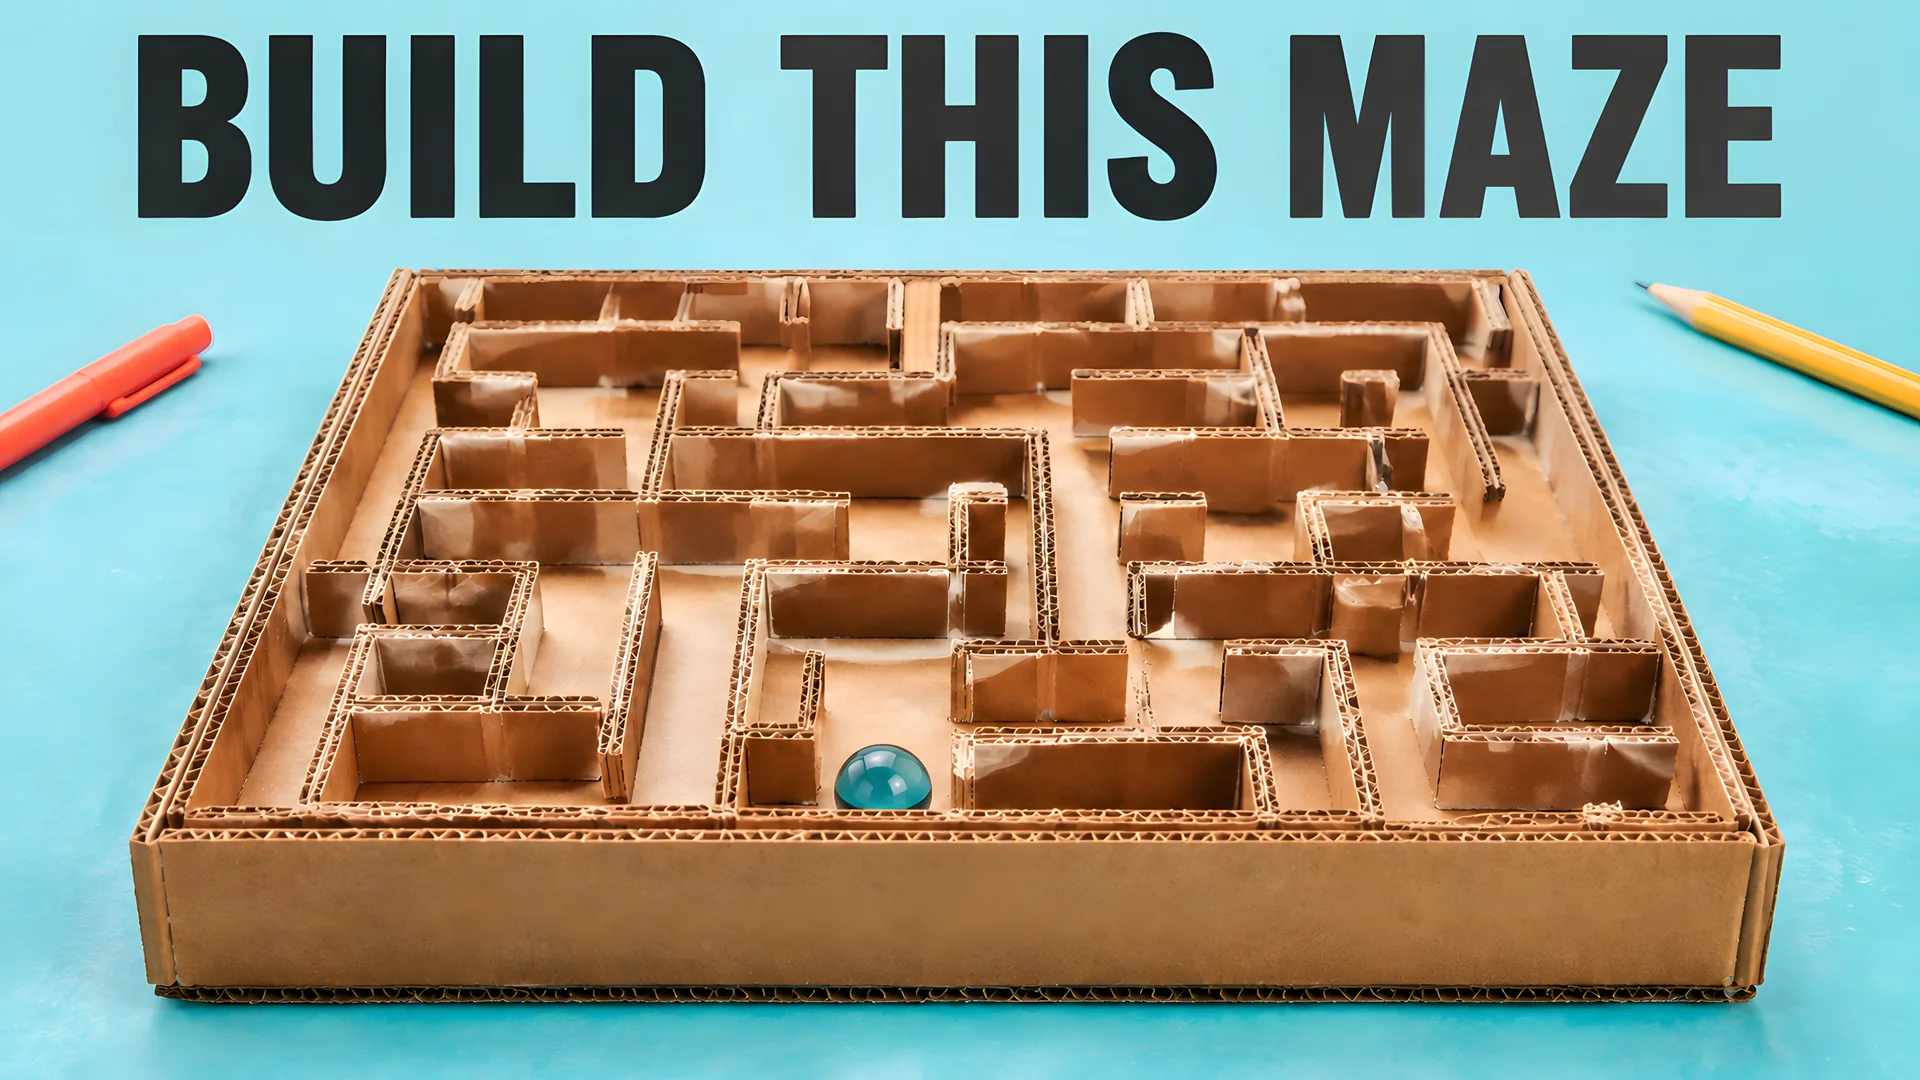
Concept illustration. Use the measured printable plan for construction.
Materials and dimensions
Gather the following before cutting.
- Corrugated cardboard for a flat, 12-by-12-inch base.
- Wall material. Cut cardboard into strips 1 inch high. Their lengths will come from the plan.
- One marble, ideally about 5/8 inch across.
- A ruler and pencil. Scissors handle paper and thin cardstock; thick corrugated board may need an adult's craft knife and cutting mat.
- Low-temperature hot glue or strong craft glue. Follow the adhesive's drying instructions.
- Printed plan and tape. Paint or markers are optional.
One-inch walls give a small marble a useful retaining barrier while leaving the route visible. They won't keep it in during a sudden flip, so play with gentle tilts over a table.
Aim for 1 to 1.25 inches of clear passage between wall faces. Wall thickness counts. The supplied 10-by-10 layout uses a 1.125-inch grid pitch, which leaves a 1-inch corridor when opposing wall strips are 1/8 inch thick and centered on the lines.
Before you begin, stand two scrap strips on a pencil grid and roll your marble between them. Thicker cardboard may need a larger board or fewer cells. Press the base's corners against the table, too; a bowed pizza-box lid can steer the marble even when your hands are level.
The printable plan and solution
The original plan has ten rows and ten columns. Its wall layout measures 11.25 inches square, leaving a 3/8-inch margin on each side of the base.
Open the printable wall plan. Keep the separate solution aside until testing. The editable SVG plan is available for resizing.

Thick black lines show wall positions. The green circle marks START; the star marks FINISH. A light gray line appears only on the solution sheet.
Print at 100 percent. This layout won't fit on one Letter or A4 sheet at its intended size. Use your PDF reader's poster or tiled-printing option at 100 percent, with overlapping sheets, and join matching grid lines. Measure the one-inch reference square before transferring anything. If it measures less than an inch, the printer has reduced the plan.
Choose another layout with the maze generator, or use the hand-drawing guide to plan your own. Keep the outer boundary closed for this physical game.
Transfer the plan
- Cut the base to 12 by 12 inches. Check its corners with a square sheet of paper.
- Center the assembled plan and tape it down. Removable tape is easier to lift than glue.
- Transfer each wall endpoint with light pencil pressure. If the paper is opaque, rub pencil graphite on its reverse, then trace the endpoints from the front.
- Lift the paper. Connect matching marks with a ruler, consulting the plan at every junction.
Trace wall positions rather than improvising a rolling route. A wandering pencil line can consume the clearance you carefully allowed around the marble, especially where three strips meet.
START and FINISH sit inside the retaining boundary. Their passage openings connect to the interior maze; neither needs a hole through the outside wall.
Lay two loose strips along a narrow passage and move the marble through. It should pass without touching both walls simultaneously. Check the corner beyond that straight section as well.
Build the walls
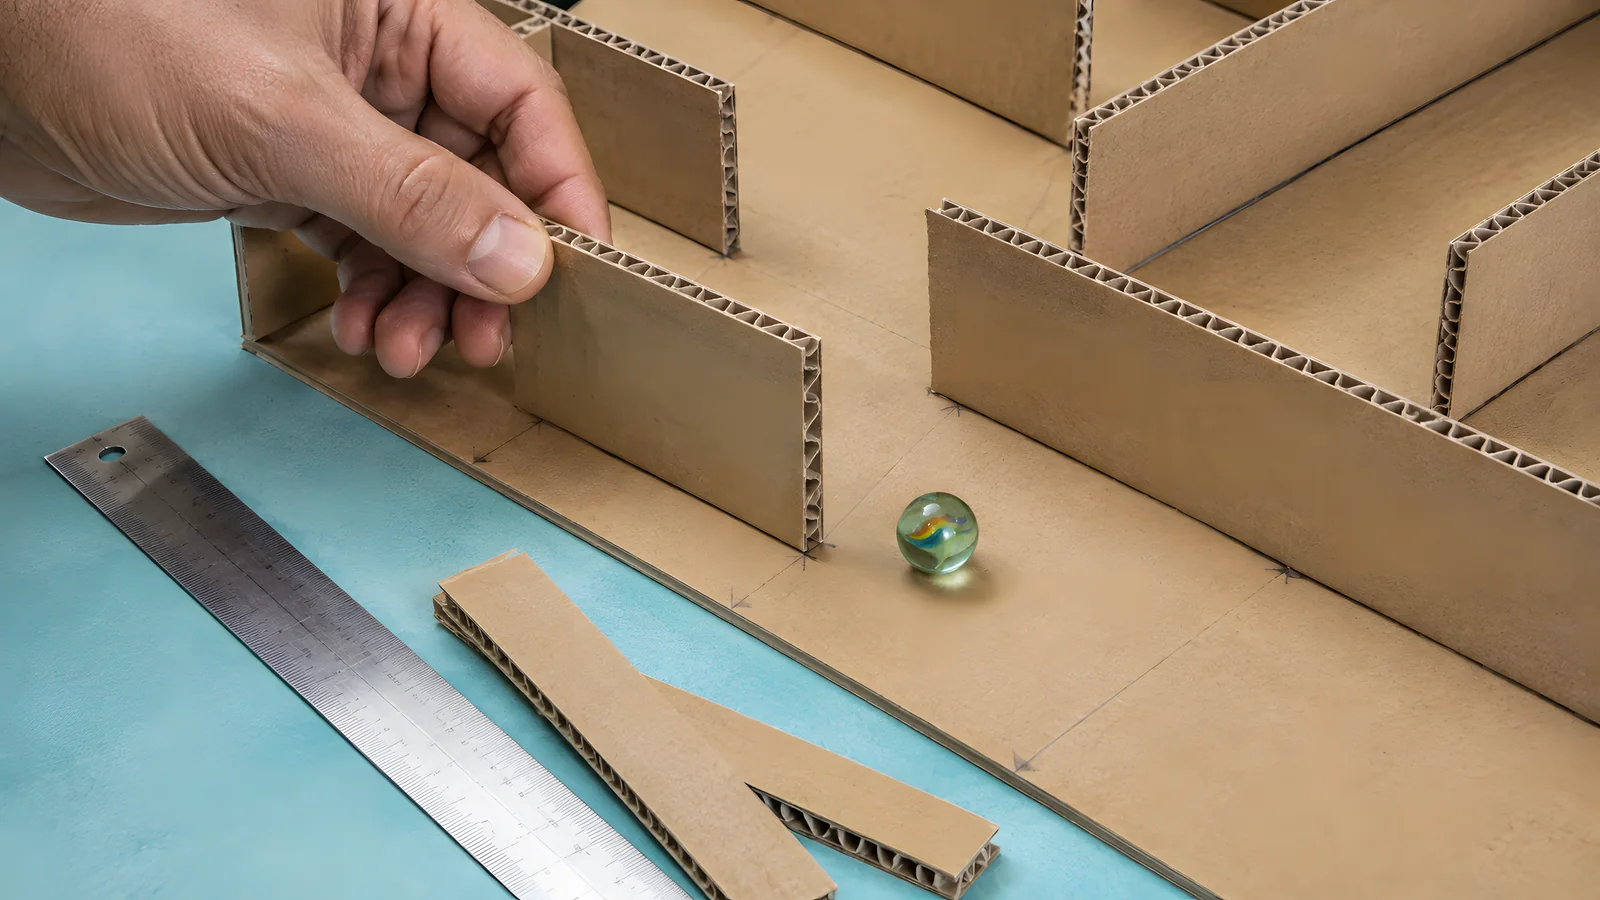
Assembly illustration showing wall placement and marble clearance.
Cut long, straight strips 1 inch tall. Then measure the individual runs against the base and trim them to length. At a butt joint, the short strip ends against the face of the longer one; subtract that wall's thickness instead of letting the pieces overlap.
Number the underside of each strip and write the matching number beside its pencil line. Tiny pieces otherwise become surprisingly difficult to identify once they're sitting in a pile.
Dry-fit the whole maze. Place every wall without glue and check it against the plan. Use small scraps as temporary supports. Roll the marble through the intended route while holding the loose pieces upright.
Glue in this order.
- Attach the outer perimeter, closing all four corners.
- Fix the long internal walls.
- Add shorter pieces around turns and dead ends.
Apply a narrow bead along the bottom edge of each strip. Press it onto its line without smearing glue into the passage. A broad puddle beside a wall becomes a speed bump, and the bump can become a trap once two adjoining beads meet.
Use a ruler edge, a scrap-cardboard brace, or a protected book to keep a wall upright while the glue sets. Avoid gluing the support to your board. Craft glue needs longer support than hot glue; work in sections rather than trying to hold six walls at once.
Construction fixes
- Bent strip. Replace it. Forcing it straight stores tension in the joint.
- Excess glue should be removed by an adult with a scrap tool while workable, without touching hot adhesive. Let hardened glue cool fully before trimming.
- A loose wall needs reinforcement along a non-playing face where available. At internal walls, use a small end brace or a very thin bead and recheck clearance on both sides.
Let the adhesive cure before playing. A wall that feels firm at its top can still slide along a wet base joint.
Test and refine
Place the marble at START and tilt slowly. Follow the answer sheet once, pausing at every sharp turn. Then deliberately visit the false paths.
Watch the outer boundary during testing. Corner gaps should be smaller than the marble, and the perimeter should stay attached when the ball rests against it. Keep tilts shallow enough that the marble rolls along the base.
If the marble sticks, inspect the exact spot at eye level. A leaning strip may narrow the top of a passage even when the pencil lines underneath are correct. Move that wall, or remove a dried glue ridge.
If it rolls too quickly, first use smaller tilts. A thin paper covering or fully dried matte paint can add mild texture, although the effect depends on the material. Try it on a scrap before covering the playing surface. Wet paint can warp cardboard; a thick textured coating creates new obstructions.
A dead end must leave room to reverse out. The marble doesn't need to turn around like a vehicle, but it does need clearance from glue and inward-leaning walls.
Run a fairness test. Give the board to someone who hasn't seen the solution. Ask them to point out any unclear opening or mechanical snag. Difficulty from choosing a route is welcome; an invisible glue lump deserves repair.
Record any construction changes on the answer sheet, then confirm that the published route still reaches FINISH.
Paper-plate variation
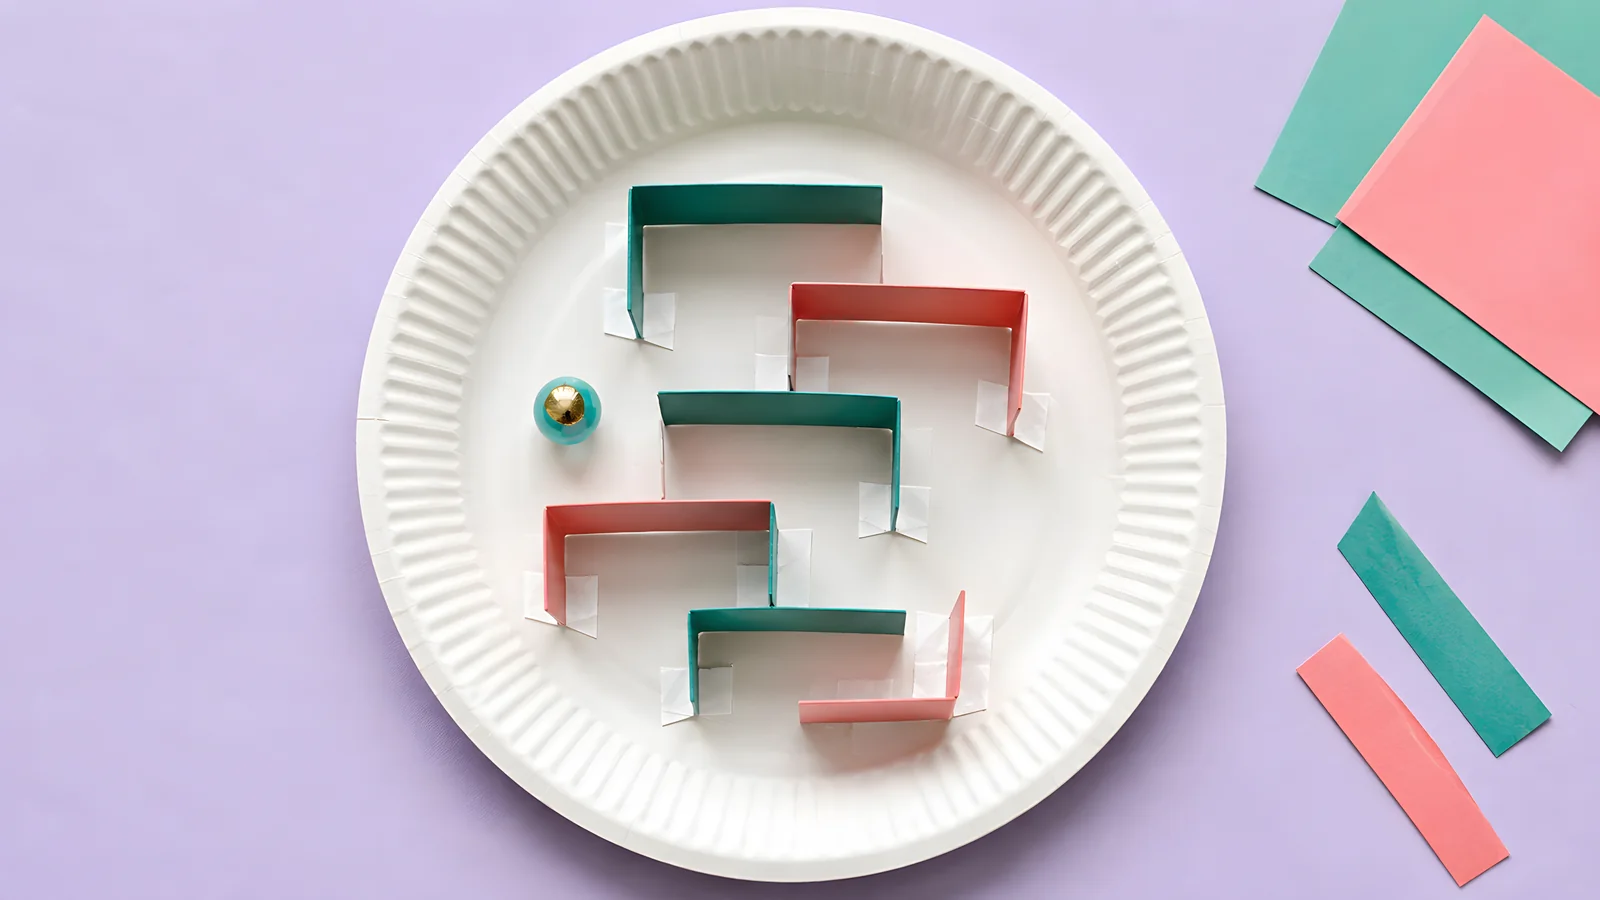
Variation concept. Keep the route within the plate's flatter center.
A sturdy paper plate makes a compact version for a classroom craft or a rainy afternoon. Choose one with a relatively flat center and keep the marble within that area.
Fold cardstock strips into an L shape so each wall has a gluing tab. Drinking straws or short cardboard pieces also work. Keep straw ends closed against another wall so the marble cannot sneak through the joint.
Plan a short route with six to eight turns. The curved rim can accelerate the marble or steer it sideways, so a dense grid near the edge is harder to control than it looks.
Test with loose pieces before attaching them. If the plate flexes when lifted, glue a cardboard disk underneath and let it dry flat.
The plate version uses fewer pieces and is easier to finish in one session. The square cardboard board gives more room for branching paths and usually tolerates repeated play better.
Customize the game
Add numbered checkpoints along the tested route. Or color-code interchangeable inserts by difficulty, keeping each insert's retaining walls intact and fitting it securely into a shallow tray.
A garden gate or a small painted harbor makes a gentle finish theme. Keep the goal symbol visible above the decoration. I would leave the corridors plain; little drawings tend to compete with the wall openings.
For another build, explore non-rectangular maze shapes. Recheck the marble's clearance whenever the shape changes.
Final checklist
- The transferred walls match the plan.
- Every strip is secure and upright.
- Your marble passes through all intended openings.
- The outer boundary contains it during gentle play.
- START and FINISH remain easy to see.
- The solution has been tested from beginning to end on the finished board.
- Marbles are counted and stored securely. Cutting tools and glue equipment are put away out of young children's reach.
For a related construction approach, the Center for Architecture's scrap-cardboard activity also builds a tilted game from a drawn wall plan.