The vertical passage disappears beneath the horizontal one, then resumes on the other side. Weave mazes use that crossing to show two routes passing at different levels, so turning where the lines overlap can take you off the legal path.
A weave maze lets one passage travel over or under another without joining it. Such drawings are often described as layered or pseudo-3D; Jamis Buck's weave-maze explanation illustrates that structure.
Read the key before tracing. The original diagrams below distinguish a bridge crossing from a real junction, then give you three short exercises with separate solutions.
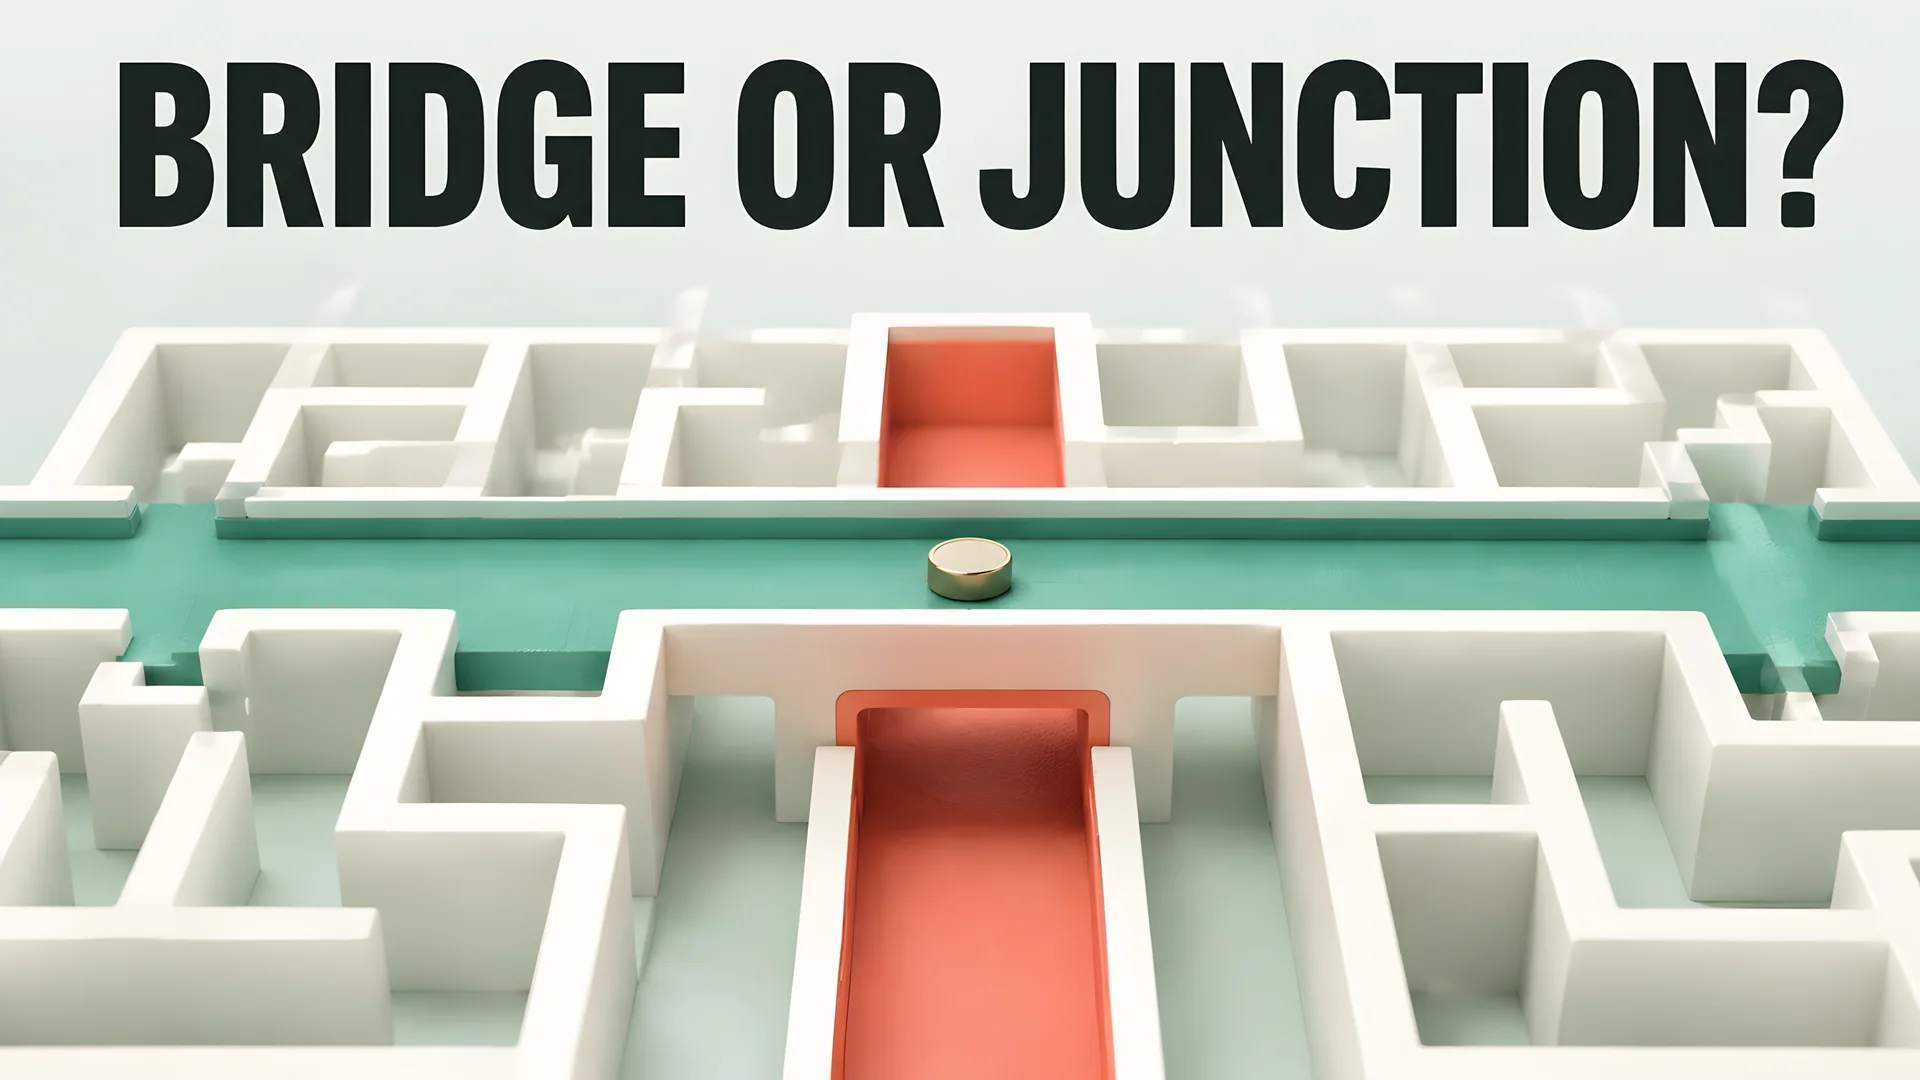
Layered-maze concept. The crossing has no connection between levels.
Crossing versus junction
At a junction, the indicated branches connect on the same level. If no additional rule restricts turns, you may move from an incoming branch onto any connected outgoing branch.
At a bridge crossing, the horizontal passage stays above the vertical passage. A traveler moving horizontally continues across. A traveler moving vertically continues through the tunnel. Neither can turn onto the other passage at that overlap.

The gap in a tunnel symbol represents a hidden section beneath the bridge. It doesn't indicate a dead end, and it doesn't grant permission to climb onto the overpass.
Other publishers may use paired bridge rails or different shading. Some show the underpass with broken lines, while others interrupt it completely. Consult the legend on that particular worksheet rather than transferring a convention by appearance alone.
If a photocopy loses the underpass gap, request a clearer copy. A lost symbol can change the apparent connectivity of the whole puzzle.
The notation used here
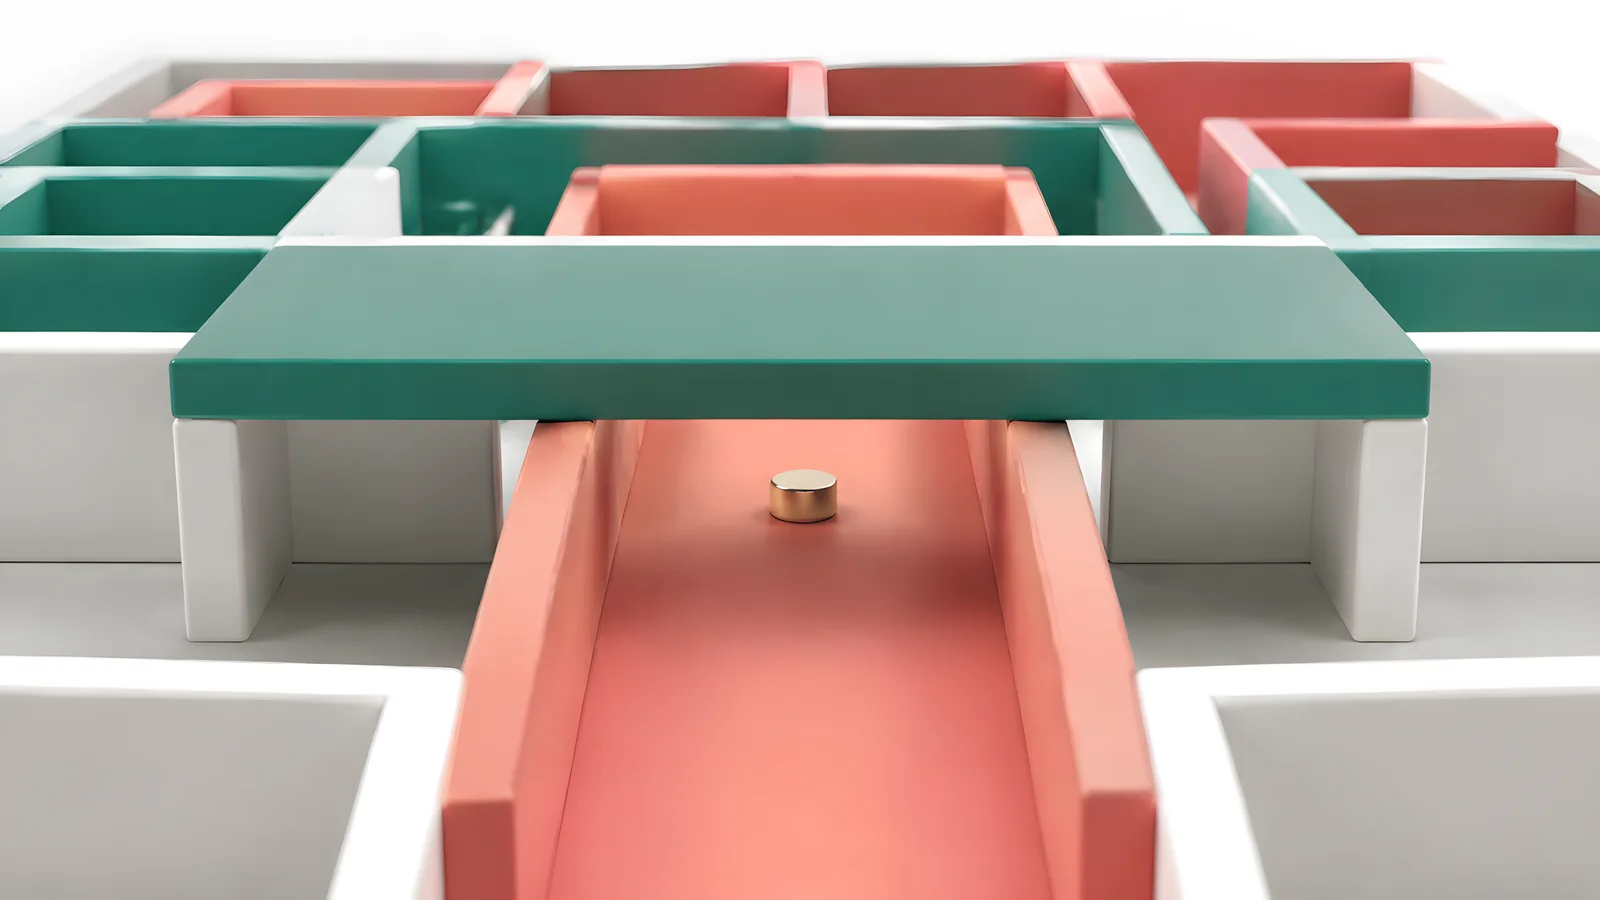
Cutaway concept showing why a tunnel continues beneath the bridge.
The downloadable legend uses these conventions on every exercise.
- Solid continuous band at an overlap marks the horizontal overpass.
- A dashed vertical segment marks the tunnel beneath it. The tunnel resumes straight beyond the overlap.
- A solid black dot at an intersection identifies a true junction.
- No dot at a crossing means no turn there. Follow the passage's existing direction.
Ordinary bends away from crossings remain connected. You may follow their bends without a junction dot; the no-dot restriction concerns overlapping passages.
Labels such as X identify crossings for discussion. X itself isn't a junction marker. S means START and F means FINISH.
Trace the center of your passage. When you enter a tunnel, continue in the same direction to the visible segment beyond the bridge. No ramp connects the levels in these examples.
Color appears on the answer routes, but all movement information is also conveyed by line style and the dot. You should be able to solve a black-and-white copy.
A tiny worked route
Start at S on the left. The horizontal route crosses X and continues to junction J. A separate vertical passage runs beneath X. F lies below J.

- Travel east from S toward X.
- Cross X on the solid horizontal overpass. Keep going straight; the vertical tunnel belongs to a separate passage.
- Reach J, marked with a black dot.
- Turn south at J and follow that branch to F.
The tempting wrong route turns downward at X. Although the vertical line looks available, there is no dot connecting it to the bridge. The drawing offers no way to change levels there.

A useful pencil check is to stop just before each overlap and name the level you're using. "Across the bridge" or "through the tunnel" is enough. Continue beyond the crossing before reconsidering possible turns.
These diagrams are deliberately small. Their job is to make the notation legible before you encounter several overlapping routes in a dense puzzle.
Practice 1 - One bridge
Start at S above X and reach F on the right. The vertical passage enters a tunnel beneath the horizontal crossing. A bend below X leads around to the finish.

Use the legend. You may follow ordinary bends and turn at dotted junctions. You cannot change passages at an undotted overlap.
Practice 1 solution
From S, go south through the tunnel at X. Continue to the lower bend A, turn east to B, then north to F.
The route is S, X vertically, A, B, F. Turning east at X would look shorter, but the horizontal overpass is separate.

The tunnel may disappear visually for a short distance. Continue along its alignment until it reappears; the blank gap is part of the symbol.
Practice 2 - Mixed intersections
Start at S on the left and reach F below the right-hand junction K. Along the way you will see an undotted bridge X and a dotted junction J.

Decide which intersections permit a turn before tracing the complete route. One legal branch leads to a dead end, so recognizing a junction doesn't by itself identify the solution.
Practice 2 solution
Travel east from S, straight across X, and into J. Continue east to K, then turn south to F.
Turning north at J is legal but leads to dead end D. Turning south at X is illegal because there is no connection between the levels.

Compare those two rejected choices. One is a navigational dead end; the other violates the notation before you even enter the branch.
Practice 3 - Read before moving
Start below X and travel north toward the tunnel. The finish sits east of the crossing, but the connecting route goes around the upper side of the diagram.

At X, can you turn right?
- A. Yes, because a line reaches toward FINISH.
- B. No. Continue through the tunnel to the next connected bend.
- C. Only after revisiting X.
Practice 3 answer and route
B is correct. X has no junction dot. Revisiting it wouldn't connect the two levels either.
Travel north from S through X to A, east to B, then south to F. The route is S, X vertically, A, B, F.

Record both passages at a crossing
On a larger weave maze, your route may pass through the same printed crossing twice: once over the bridge and later through the tunnel. That doesn't mean you changed levels at the crossing. The two passages may connect somewhere else in the maze, allowing you to reach the other level by a longer route.
Keep separate notes for those visits. Label them "X bridge" and "X tunnel" rather than crossing out X after the first pass. A mark meaning "already explored" on the bridge says nothing about the tunnel beneath it. The same distinction matters when you retrace a wrong branch: follow the passage you entered, not whichever line looks closest to your pencil.
For the notation on this page, a horizontal arrival must leave horizontally, and a vertical arrival must leave vertically. Check that pairing before looking for the next turn. Number the crossings along your route if several symbols look alike; the numbers record travel order without implying a connection between levels.
Give a useful hint without drawing the solution
Ask the solver to identify the next crossing or junction and explain what the symbol permits. In Practice 2, "Can I turn north at J?" has a different answer from "Will that branch reach F?" The turn is legal, even though the branch ends at D.
If a solver takes that dead end, let them retrace it and try another connected branch. If they turn at X, return to the legend before continuing. More route searching won't fix a misunderstanding about which passages join.
A paper strip can help isolate one crossing while you discuss it. Cover nearby branches, leaving all four approaches visible. Trace one passage through the overlap, then the other. Remove the strip before solving so it doesn't hide a legitimate junction farther along the route.
This check is also useful when reviewing a homemade worksheet: if two readers disagree about connectivity at the same symbol, redraw the crossing before adding more route choices.
Design and print tips
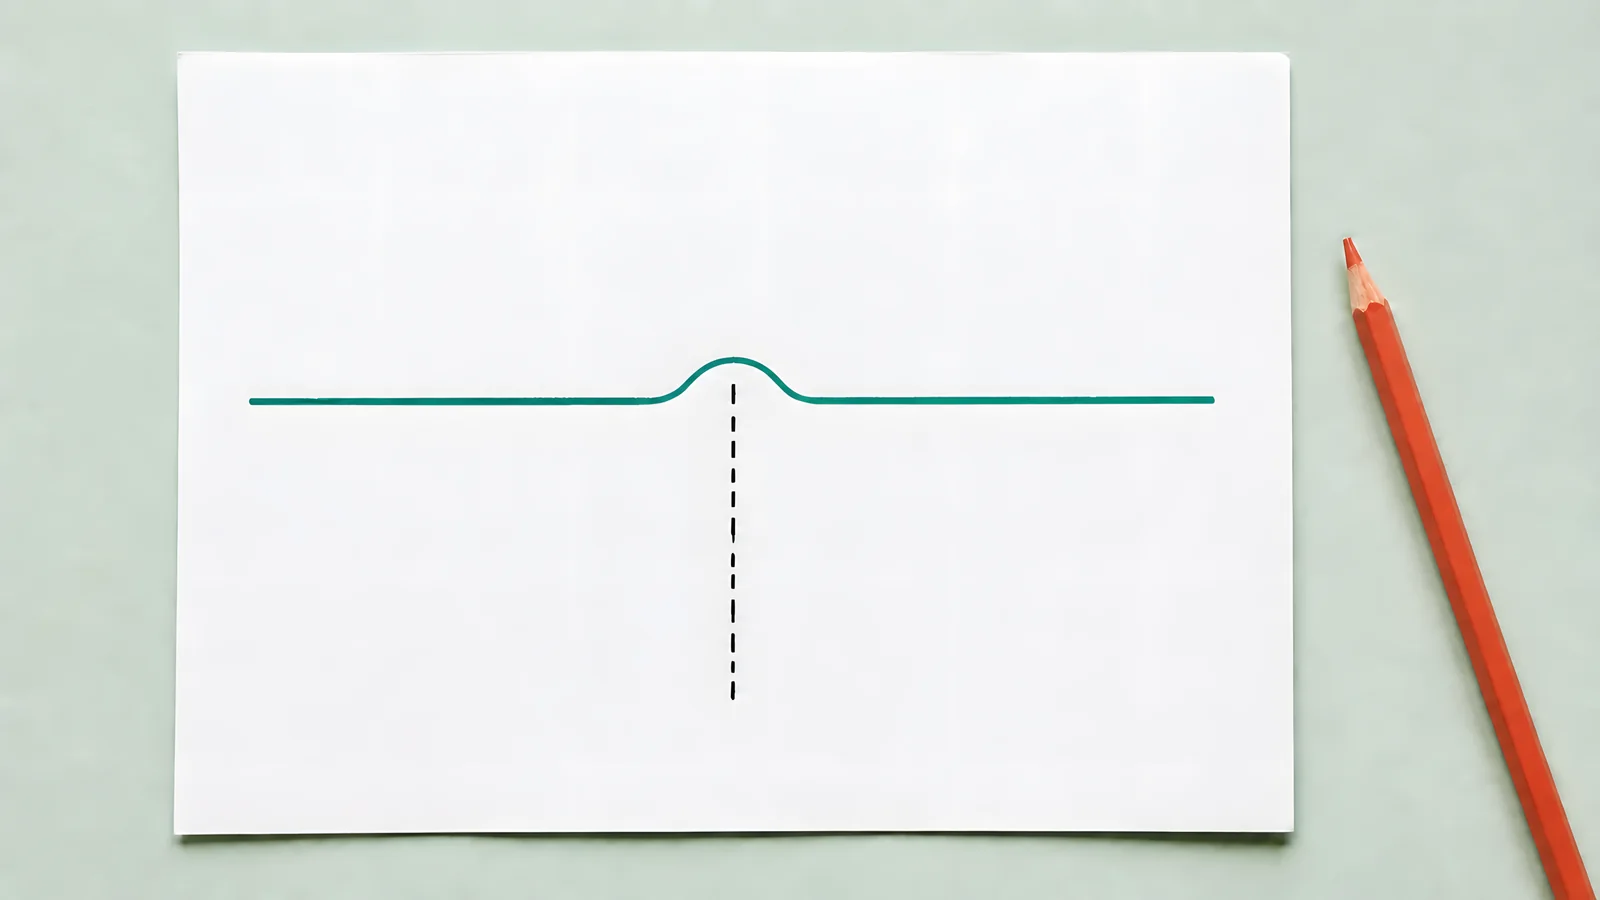
Overpass notation concept. Keep the original legend visible when solving or printing.
Use high contrast and leave clear space around each crossing. A tunnel gap should remain recognizable after the worksheet is reduced or copied.
Keep line weights consistent. If one bridge is drawn differently, readers may reasonably assume it introduces another rule.
Print the legend on the same page as the maze. Separate answer diagrams help students attempt the route without accidentally seeing the highlighted path.
Test a grayscale copy before classroom use. Check that every junction dot is distinct from the route's ordinary bends and that dashed tunnels haven't filled into solid bands. Thin pale shading alone is too easy to lose.
When checking a design, treat a crossing as two separate graph nodes, one per passage. Connecting those nodes would create the very illegal turn the notation is meant to prevent.
Related reading
What is a maze gives the broader definitions. The brain-teaser guide introduces other formats with special reading rules, and maze shapes explores unusual outlines.
A maze's outer shape doesn't determine whether it contains bridges. The ordinary shape pages and regular maze generator don't automatically create or validate these weave crossings.