Erase one short wall and two cells gain a new path between them. To compare perfect vs. braid mazes, start with one layout and change it a wall at a time. Then you can see which opening creates each loop.
A perfect maze is connected and has no loops. There is exactly one simple path between any two cells. A simple path never visits the same cell twice. "Perfect" names this type of maze; it does not mean the maze looks good or is easy to solve.
A fully braided maze has no dead ends. A partially braided maze has loops but still has some dead ends. We use the terms from Walter Pullen's guide to maze types.
The example below changes two walls in one original layout. The cell labels, START, and FINISH stay in the same places.
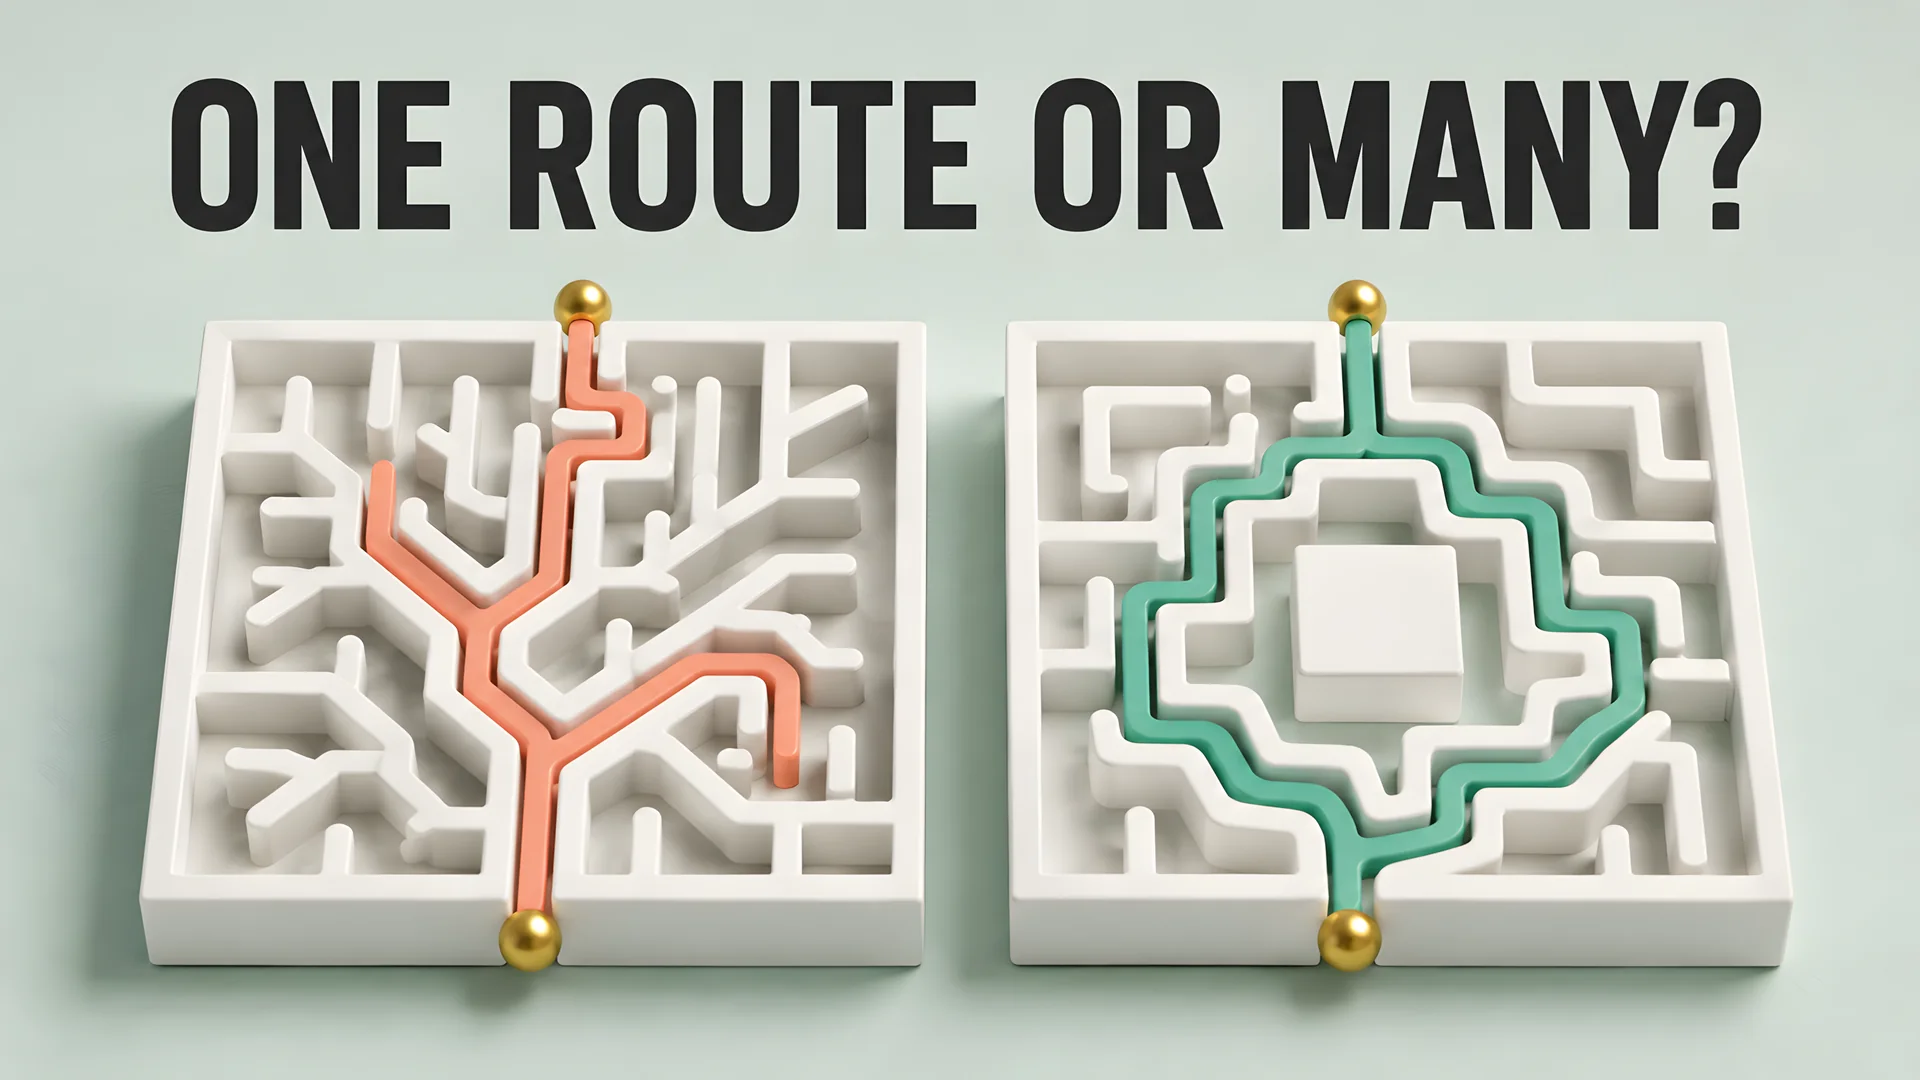
Comparison concept. The original nine-cell diagrams supply the verified route counts.
Before and after
The maze contains nine cells, arranged as follows.
A B C
D E F
G H I
A is START and I is FINISH. The letters name cells, not wall openings. You can move between two cells that share a side only if the wall between them is open.

The original passage sequence is A-B-C-F-E-D-G-H-I. It visits all nine cells through eight connections. There are no extra passages.
This gives just one route from A to I. Each of those two cells has one passage, so each has a degree of one. We count them as dead ends, even though they are START and FINISH. The graph does not add paths from those cells to the space outside the maze. We use this rule for all three versions.
First wall removal
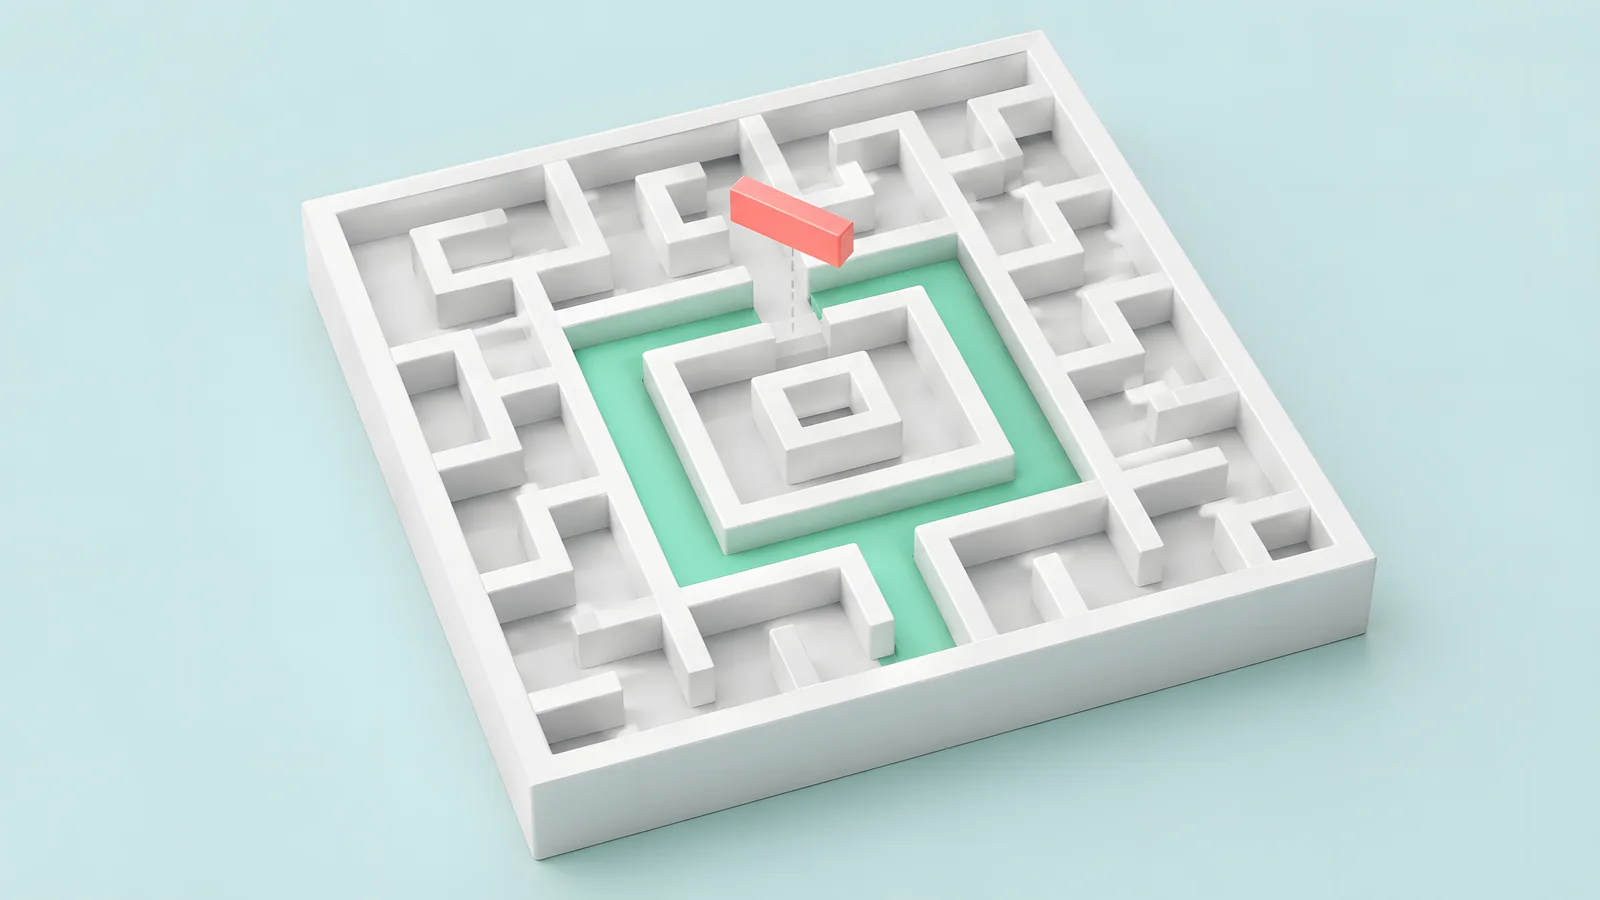
Wall-edit concept. The A-D opening is specified in the verified diagram below.
Open the wall between A and D. Nothing else changes.

You can now travel from A to D directly, or take A-B-C-F-E-D. Those distinct routes reconnect at D and create a loop.
A now has two neighbors. I still has only H as a neighbor, so one dead end remains. This is not a fully braided maze yet.
Second wall removal
Keep A-D open and remove the wall between F and I.

I now connects to F as well as H. Every cell has at least two neighbors. Using the same rule as before, we now count no dead ends.
We have made a fully braided maze without moving a cell or changing the border. Two openings are enough here because the first layout had just two dead-end cells to change.
What changed structurally
| Structure | Connections | Independent loops | Dead-end cells | Simple A-to-I routes |
|---|---|---|---|---|
| Perfect | 8 | 0 | 2 | 1 |
| Partially braided | 9 | 1 | 1 | 2 |
| Fully braided | 10 | 2 | 0 | 4 |
We checked these counts against the graph used to draw the images. We count simple routes, which never visit a cell twice. If you allowed repeats, a solver could keep walking around a loop for as long as they liked.
For a connected graph, the number of independent loops is connections - cells + 1. The three calculations here are 8 - 9 + 1 = 0, then 9 - 9 + 1 = 1, and finally 10 - 9 + 1 = 2.
The independent-loop count does not count every way to walk in a circle. Smaller loops can join to form larger ones. The table counts only the independent loops, not all those combined walks.
The four simple A-to-I routes in the final version are A-D-G-H-I; A-D-E-F-I; A-B-C-F-I; and A-B-C-F-E-D-G-H-I.
In a larger maze, all the loops might be in one area. Two points on a branch that leads to that area may still have just one simple path between them. Even a maze with no dead ends can have a link you must cross. Think of two groups of loops joined by a single bridge: there is no way around that bridge.
Why perfect doesn't mean easy
Our original nine-cell example is easy because its passage simply winds from one endpoint to the other. A larger perfect maze can have many branches, with long dead ends placed beside the true route.
A dense maze makes it harder to spot openings. Long paths can hide dead ends far beyond the first wrong turn. Where a branch starts matters too. A path close to FINISH may look more tempting than a clear detour near START.
None of those effects requires a loop.
Braiding can shorten an answer. Opening A-D creates the shorter A-D-G-H-I route here. The new maze has a loop, but that alone does not make it harder.
Loops can also make it harder to rule a path out. Instead of ending, a branch may bring you back to a place you have seen. In a dense maze, you might not spot that you are back at the same fork. How this feels depends on the layout and how you solve it.
Decide what counts as an answer
"Reach FINISH" and "find the shortest route" are different tasks. If the goal is just to reach FINISH, any unbroken A-to-I route through open paths works. A teacher's marked line shows one answer. It does not make a different legal route through a braided maze wrong.
The perfect version requires eight passage moves from A to I. After opening A-D, the shortest route takes four: A-D-G-H-I. The original eight-move route remains available because removing a wall hasn't closed any existing connection.
In the fully braided version, three of the four simple routes take four moves. They are A-D-G-H-I, A-D-E-F-I, and A-B-C-F-I. The fourth takes eight. Even an instruction to find a shortest route therefore has three correct answers in this example.
For a class task, give each solver the same start and finish. Ask them to list the cells they visit. A partner can check each pair of cells against the drawing: is there an open path between them? Count moves, not letters. A route through five cells takes four moves. Agree on whether a route may visit a cell twice before comparing longer answers.
The answer key needs to fit the task too. For a perfect maze, it can show the one route. For a braided maze, state the rule and show a route that meets it. Do not call it the only answer unless you have checked that claim.
Braid a copy without losing track
Make a copy of a connected maze. Pick a dead-end cell and find a closed wall it shares with another cell. Open that wall to give the dead end a second path. There was already a route between the two cells, so the new opening creates a loop.
Count the dead ends after each edit. An opening can remove two at once if both cells had just one path before the change. Another opening may remove only one. Count the cells that still have one path, not just the walls you erase.
Keep the outer border unless the task calls for a new entrance or exit. Some maze shapes have a cell with only one possible neighbor. You cannot give that cell a second path by opening an inner wall; there is no second cell to reach. You would need to change the shape to make that maze fully braided.
Use the original and edited copies side by side. Mark the opened walls and compare the shortest routes before making claims about difficulty. In our nine-cell experiment, the first edit halves the shortest route length; the second adds alternatives without shortening it further.
Wall-following needs a boundary check
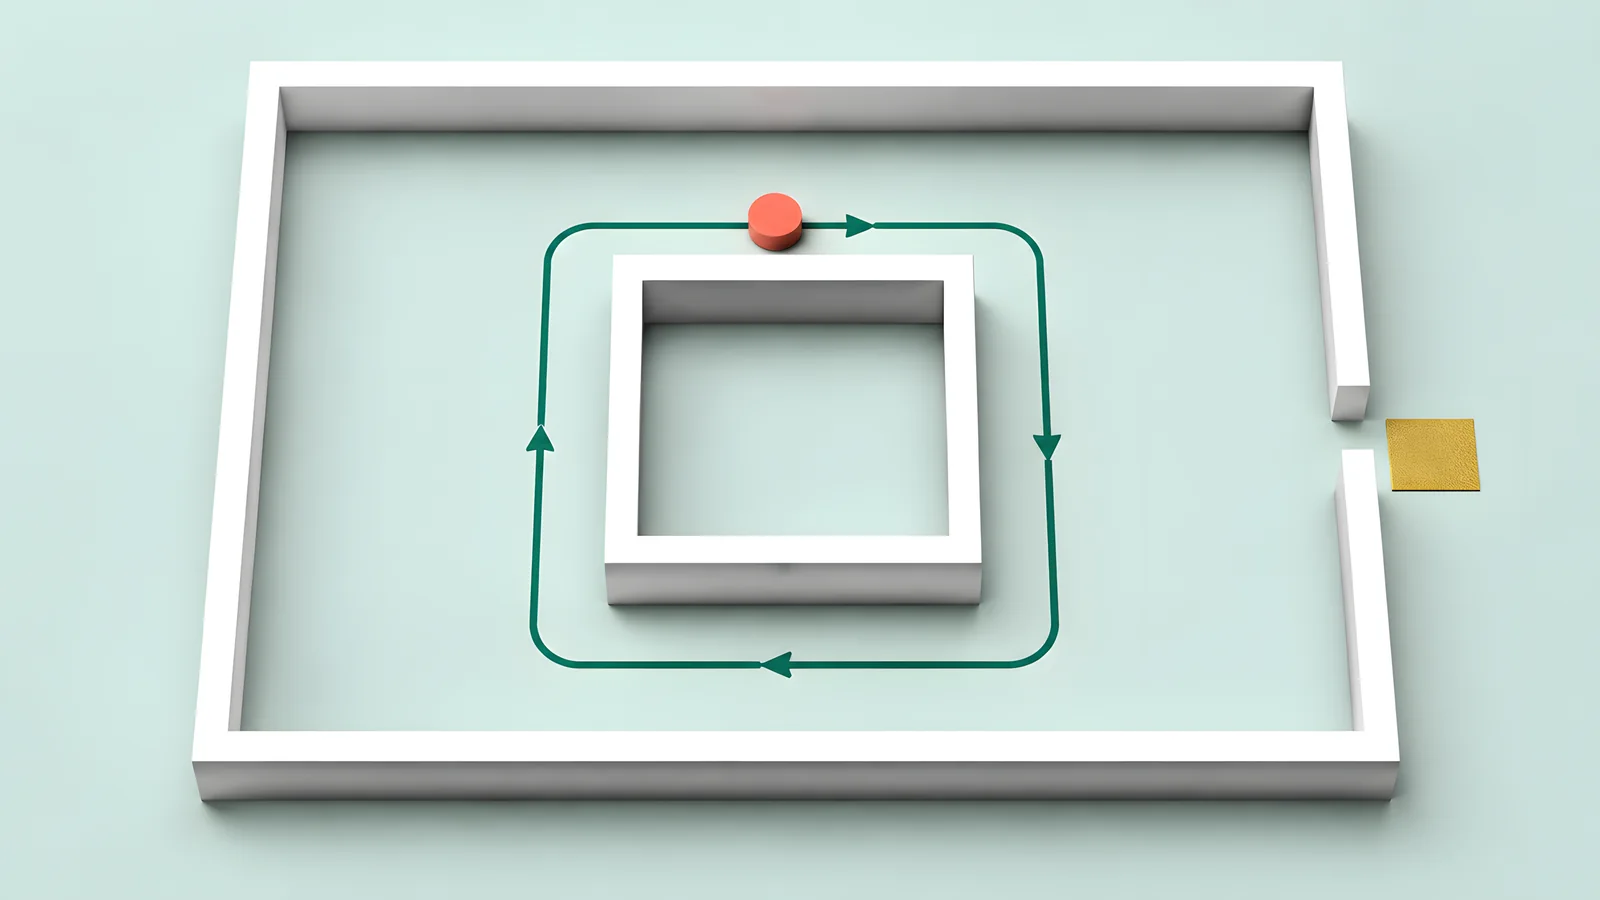
Wall-island concept. Start position and the followed wall component matter.
Keeping one hand on a wall can guide you through a simply connected maze. This rule assumes the entrance and exit lie on the same connected wall boundary that you follow. It is not a promise that the method will reach a goal placed inside the maze.
If an inner wall stands apart from the outer walls, you can keep circling it and never reach an exit elsewhere. That is one way wall-following can fail. It does not mean every maze with a loop defeats the method.

In this original counterexample, START sits just above an isolated square wall and faces east, with that square on the right. The outer boundary has an exit on its right side.
Following the right-hand wall carries the solver east along the square's top, south along its right, west along its bottom, then north along its left. The solver returns to the starting position and heading without touching the outer boundary.
To reach the exit, leave the inner wall and cross the open path to the right. The method fails here because of where you start and which wall you follow. Entering from outside and following the outer wall would be a different test.
Read the diagrams carefully
A loop appears where two distinct routes connect the same pair of cells. In the partial version, compare the short A-D connection with the longer route through B and C, continuing through F and E.
A dead end has one passage leading into its cell. Count actual openings; a cell at the edge of a diagram may still have two or three neighbors.
An alternate route must connect the same chosen endpoints. Two unrelated passages elsewhere in the maze don't establish a second way from START to FINISH.
The markers show dead ends and new openings. Color helps, but the letters and labels work in black and white too.
Keep an untouched copy when you try this yourself. If you erase several walls at once, it is harder to see which opening made a shortcut or removed a dead end.
Related reading
What is a maze explains the main types. Maze-generation algorithms shows how code builds the paths and adds loops.
Use maze difficulty to choose a puzzle to solve. Our small drawings let you track each change to a maze. Their loop counts alone cannot tell you how hard a full-size sheet will be.