Your token can pass through an open square without giving you a chance to turn there. Tilt maze strategies begin with that restriction, because each chosen direction carries the token all the way to its next obstruction.
A tilt maze is a sliding-grid puzzle. Under the rules used here, the token travels in a straight line until a wall or edge blocks it. Only then can you choose another direction.
Physical cardboard marble games behave differently. Their players continuously adjust a real board's tilt; this page treats movement as complete, discrete slides. The brain-teaser guide introduces other puzzles with additional movement rules.
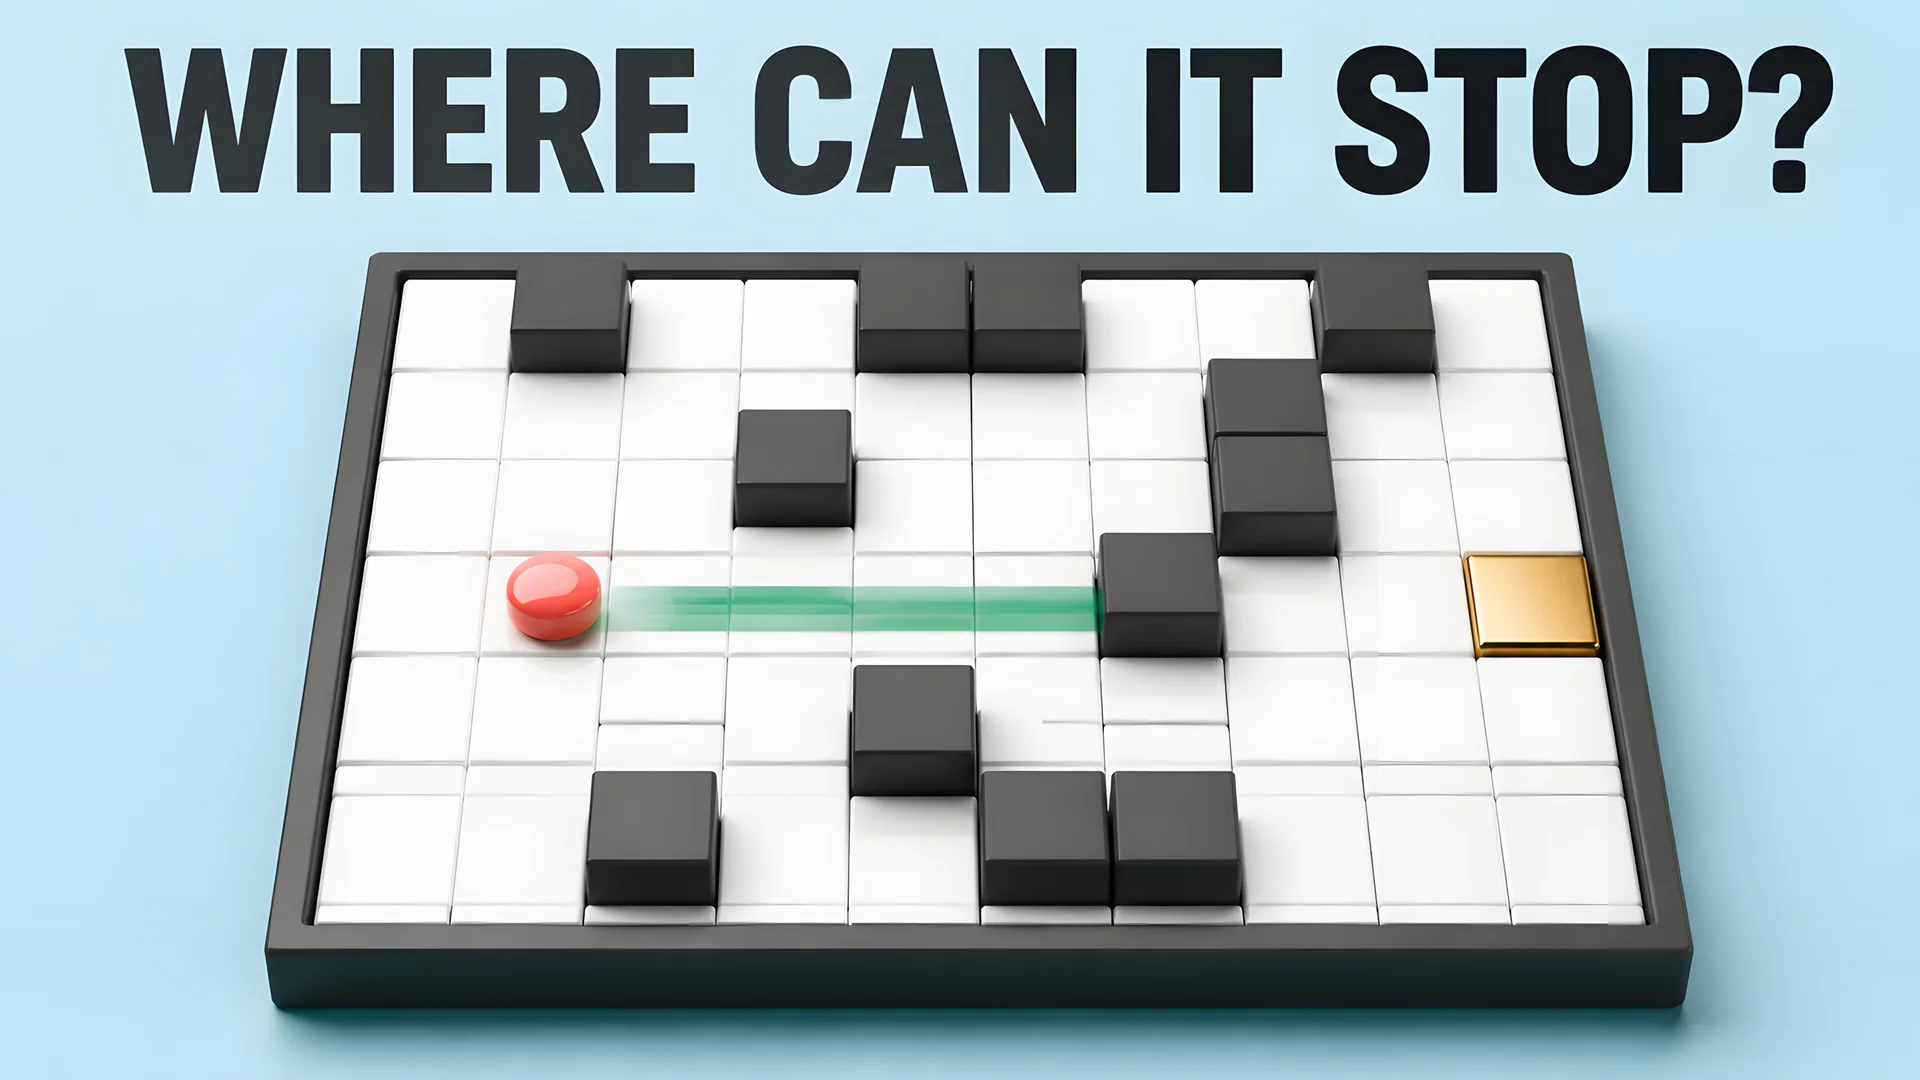
Sliding-grid concept. The token must reach a legal stopping cell.
Movement rules for this page
Choose up, down, left, or right. The token keeps moving until the next step would enter a wall cell or cross the board's edge. It rests in the last open cell before that obstruction.
You cannot stop voluntarily in open space. Passing another opening doesn't let you turn into it during the same slide.
To win this puzzle, you must stop on G. Merely crossing G doesn't count. A direction already blocked beside the token produces no movement, and it doesn't count as a slide in the answer key.
All walls are fixed. Some published games use movable blocks or several tokens, which can change the available stops after every move. Check their instructions separately.
Math Is Fun's tilt-maze game provides an example of the digital format. The original worksheet below defines its own stopping and win rules directly.
Find legal stops first
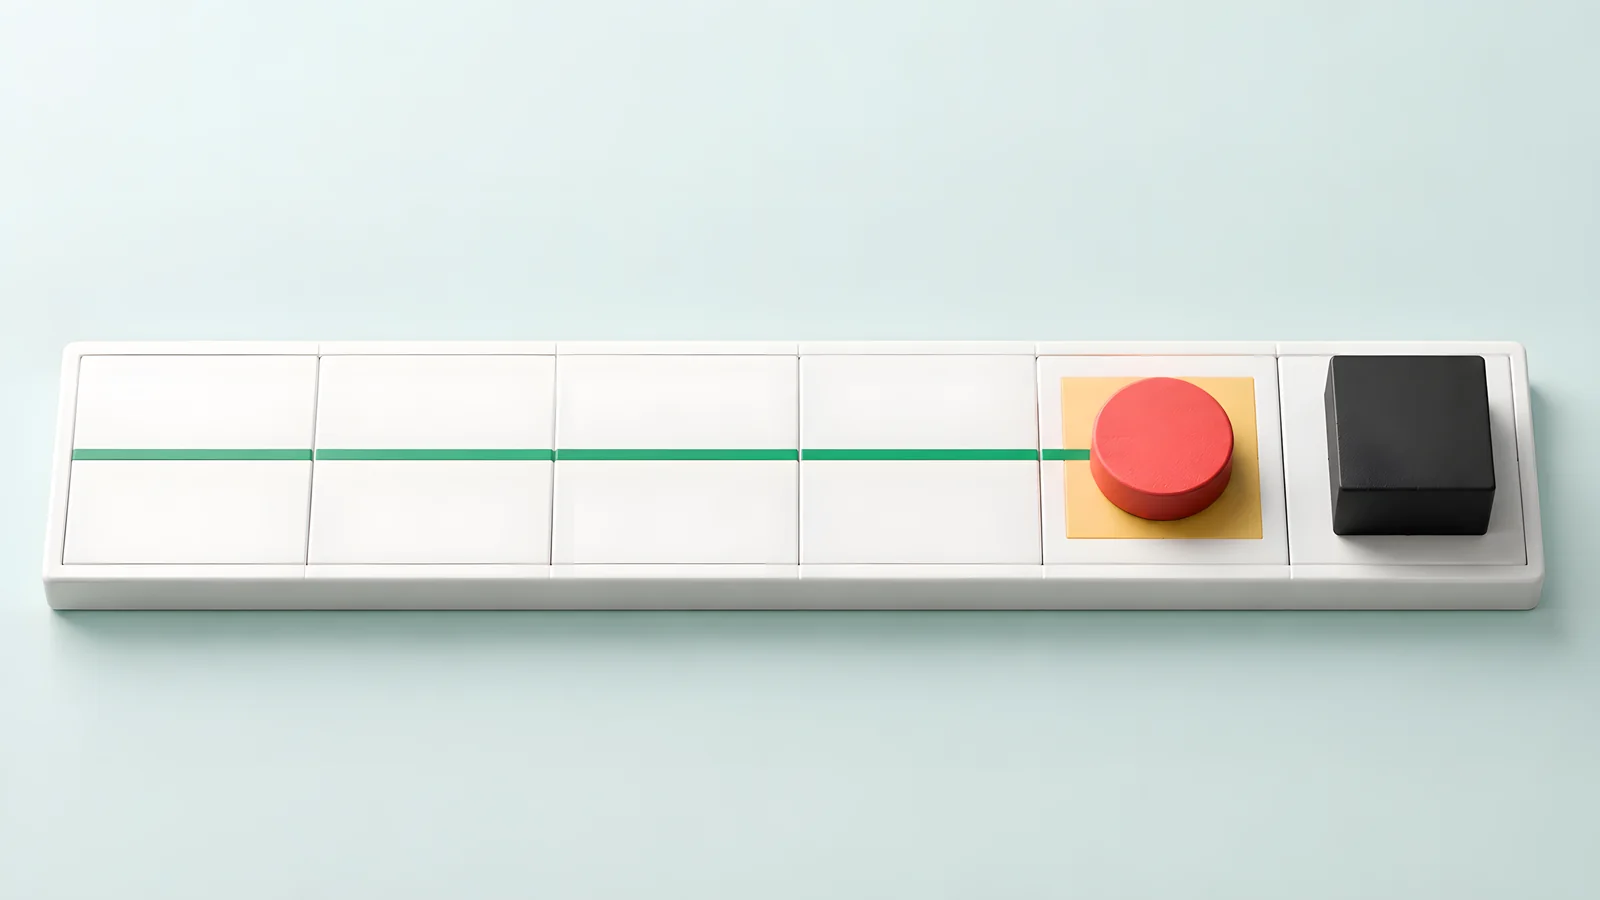
Stop illustration. The blocker determines where the slide ends.
From the current cell, inspect each of the four directions until you reach an obstruction. Mark the last open cell with a small pencil dot. Those are possible destinations for the next slide.
A long white corridor can contain several apparent turns but only one landing point. Drawing a conventional meandering route through its middle creates moves the token cannot make.

Call a stopping location a decision cell when it offers a useful next direction. Some stops only send you back where you came from. Others open a new line through the board.
With one token and fixed walls, returning to a previously explored stopping cell recreates the same choices. Mark it once and record any unexplored direction. This keeps a search from endlessly repeating the same rectangle of slides.
That shortcut would need revision in a variant with switches or movable obstacles. There, the state includes whatever else changed on the board.
Work backward from the goal
Inspect each side of G. For an arrival from the left to stop on G, the cell immediately to G's right must block further travel. The corresponding condition applies to the other three arrival directions.
Then look farther along a viable arrival line. Find a reachable stop that could launch the final slide without an intervening wall.
Work backward another step if needed. Which earlier stop could reach that launch point? The goal often limits your options more sharply than the start does.
There is an important subtlety here. A valid slide from A to B doesn't guarantee that a reversed slide from B stops at A. A may have no wall behind it to catch the returning token. Reverse planning identifies possible predecessors; it doesn't grant permission to reverse every move mechanically.
Keep the goal's stopping rule visible while doing this. It is easy to find a line that crosses G and mistake that for a completed solution.
Worked 7-by-7 example
Rows count downward; columns count from the left. START is (2,2) and the goal is (4,4). A # is a wall, while a dot is open space. The outer ring is blocked.
    1 2 3 4 5 6 7
1   # # # # # # #
2   # S . . . . #
3   # # . . . . #
4   # . . G # . #
5   # . . . . . #
6   # . . . . . #
7   # # # # # # #

Try a route before reading the moves below. Remember that the token must stop on the goal.
Five legal slides
- Right from (2,2) to (2,6). The wall at (2,7) stops the token.
- Slide down to (6,6). The bottom boundary at (7,6) provides the stop.
- Slide left to (6,2), immediately before the wall at (6,1).
- Move up to (4,2). This time the internal wall at (3,2) catches the token.
- Slide right to G at (4,4). The wall at (4,5) prevents it from traveling farther.
The move sequence is right, down, left, up, right. Both internal walls matter. One creates the launch position at (4,2); the other supplies the final stop at G.

The open-looking route that fails
From START, it appears possible to go right to column 4 and then down to G. But the first slide cannot stop at (2,4). There is open space beyond it, so the token continues to column 6.
Even if a token were placed at (2,4), a downward slide would pass through G and continue to (6,4). No wall immediately below G would catch it. That approach fails the stop-on-goal condition too.
You can see the valid final approach by working backward. G has a wall immediately to its right, so a rightward slide can stop there. Its other immediate neighbors are open. That makes the horizontal approach from the left the final move to investigate.
Count slides, not squares
A route can cross many squares while using few decisions. In the worked puzzle, the five slides travel 4, 4, 4, 2, and 2 squares respectively: 16 squares of movement, but only five moves. Decide which measure a challenge uses before comparing answers.
To check whether an answer uses the fewest slides, explore all one-slide destinations from START first. Next, explore the new stops reachable in two slides, then three. This is the same layer-by-layer idea used by breadth-first search in maze-solving algorithms, but each connection represents a complete slide rather than a step into a neighboring square.
For this board, the successive new stops are (2,6), (6,6), (6,2), (4,2), and finally (4,4). Directions that lead back to an already recorded stop add no new choices. The goal first appears in the fifth layer, confirming that the five-slide answer is shortest under these rules.
Beside each new stop, write the previous stop and the direction used to reach it. Once you find G, those notes let you reconstruct the route without remembering every branch you considered. You don't need to draw every explored slide on the puzzle itself.
Diagnose a wall change
An apparently helpful opening can make a tilt maze impossible. If you remove the wall at (4,5), all four squares immediately beside G become open. A token approaching G from any direction then continues past it. The goal is still connected to the open floor, but it is no longer a legal stopping point.
Removing the other internal wall, at (3,2), causes a different problem. G keeps its final blocker, yet an upward slide in column 2 now runs all the way to row 2. You lose the launch point at (4,2). From START, the token can only circulate among the four corners of the open interior and cannot reach the goal row as a resting position.
When testing your own edit, ask two separate questions: can the token stop on G from any direction, and can it reach a stop that launches that final slide? A yes to the first doesn't establish the second. Keep your wall changes on a spare copy so a failed experiment doesn't erase the original puzzle.
Play it on paper
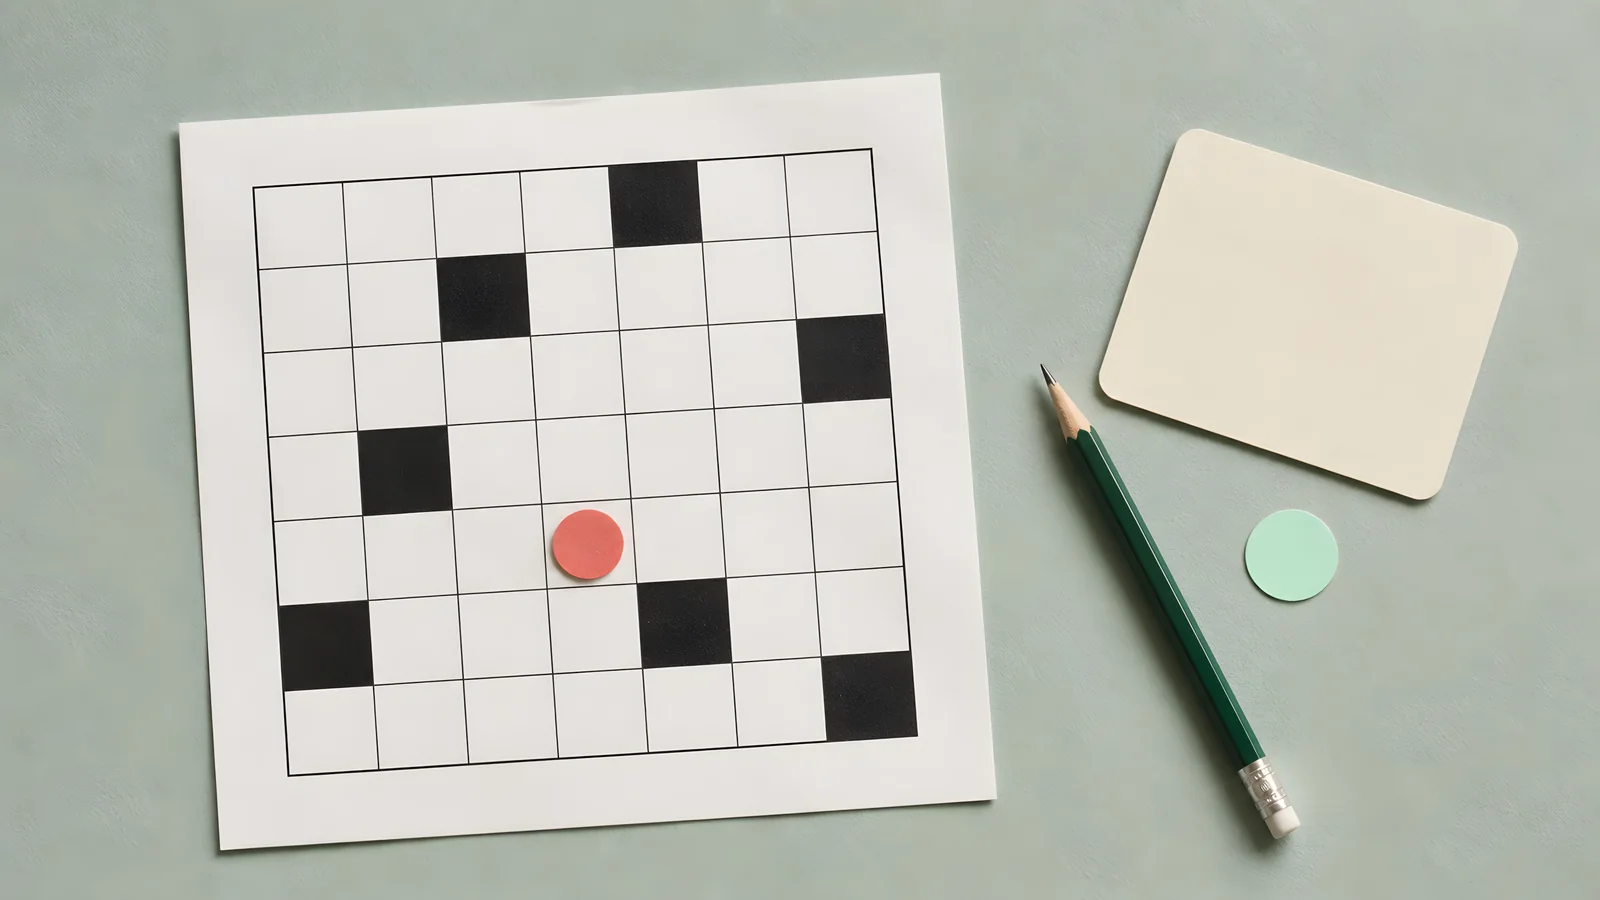
Paper-play concept. Move the marker through each slide to its legal endpoint.
Print the puzzle and token, then keep the answer card face down.
Use the supplied paper marker or a coin with appropriate supervision around young children. Move it by hand across each intermediate cell until the next cell is blocked. A paper token avoids relying on a coin physically sliding straight across a desk.
Say the chosen direction before moving. Once the slide begins, continue to its legal endpoint. Mark that stop on a separate copy, then choose again.
For a partner check, one person moves and the other names the obstruction that causes each stop. Switch roles after an attempted solution. A stop without an identifiable wall or board edge needs correction.
The route has been verified against the grid computationally. The paper version still deserves a desk test after printing, especially if you resize it. Check that a marker fits inside one cell without covering nearby walls.
If you make a variant, change one wall at a time and solve it again. Moving the blocker at (4,5) would remove the final stop used by the published answer.
Strategy checklist
- Mark complete-slide destinations before tracing a route.
- Identify the wall or edge responsible for each stop.
- Check whether the win requires stopping on the goal.
- Work backward from a feasible final approach.
- Record directions in order, keeping intermediate resting cells beside them.
- Replay the recorded sequence exactly. Don't add an unrecorded stop because a turn looks convenient.
Related puzzles
How to solve a maze covers conventional corridor navigation, and hard printable mazes provide static-route challenges.
For a physical making activity, the DIY cardboard marble maze uses a real marble and continuous hand-controlled tilting. Its construction and play tests are separate from the sliding-grid logic used here.